Impressed by my ever involved Adventures in Domesticity, my mother last month gave me two Julia Child cookbooks: Julia Child & Company and Julia Child & More Company. My mom, who likes to call herself C-Side, explained to me that more than any other tomes, these two cookbooks elevated her culinary education. This was all very exciting to me as I had yet to attempt a Julia Child recipe in any shape, matter, or form. Part of me was intimidated, and part of me felt like it was already well-worn territory, thanks to Julie Powell (on whom Julie & Julia was based). But then I realized that just because a bigger, more successful blogger had already tackled Julia Child didn’t mean I couldn’t attempt a similar Adventure in Domesticity myself. After all, Julie Powell hasn’t cornered the market on Julia Child (although, she has cornered the market on saying “penis” on Iron Chef).
Nevertheless, feeling emboldened and intrepid, I decided to take on an ambitious cake by Julia Child — one that my mom had made two or three times in my youth. I’m talking of the one and only Bombe Aux Trois Chocolats: a chocolate-covered, brownie-crusted, oversized bonbon of a cake filled with dense, delectable chocolate mousse. I knew it wouldn’t be easy — the entire cake is actually comprised of three different recipes in the book — but my desire for a challenge coupled with an insatiable craving for chocolate propelled me forward. Would I be able to properly execute this most decadent of desserts? Results after the jump…
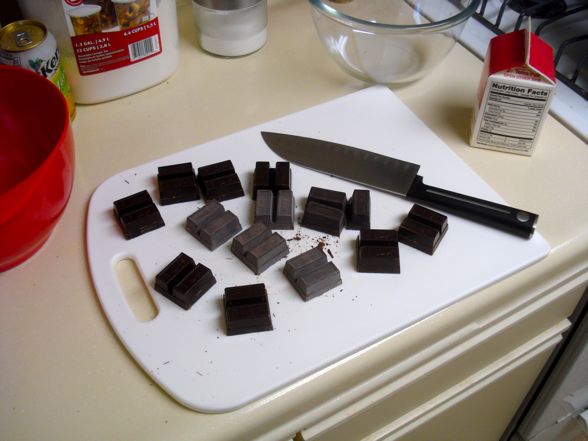
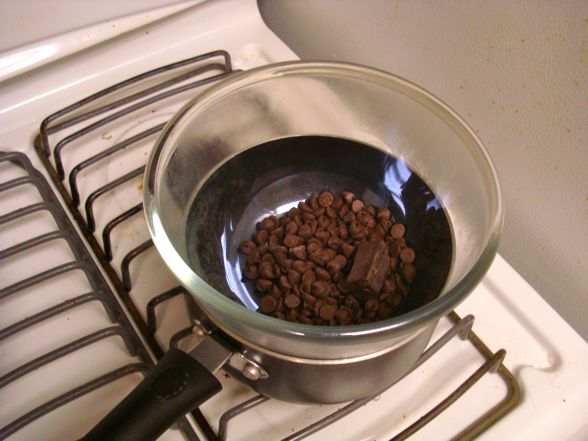
Part one of the recipe calls for the making of chocolate mousse, something I’d never attempted before. Things begin humbly with twelve ounces of semisweet and about four and a half ounces of bittersweet chocolates.
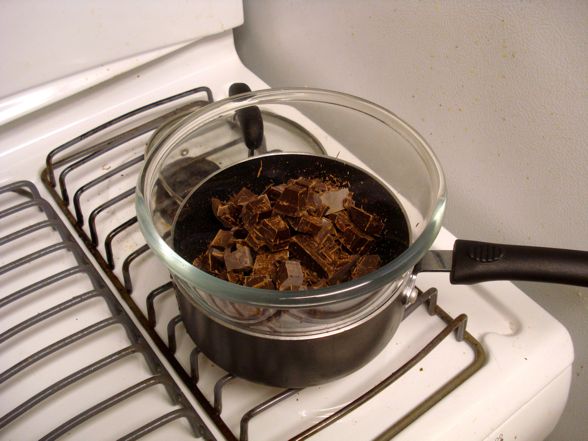
The first of many chocolate melting sessions this oven will see over the next several hours.
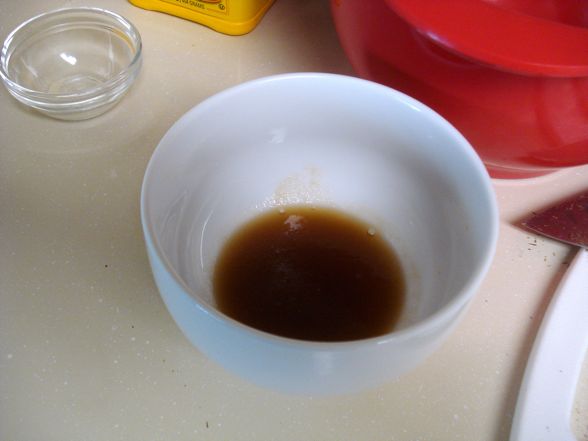
Meanwhile, in a small bowl, I mix together gelatin with some dark rum. I haven’t worked with gelatin since a ninth grade science class. I’m mildly excited by our reunion together.
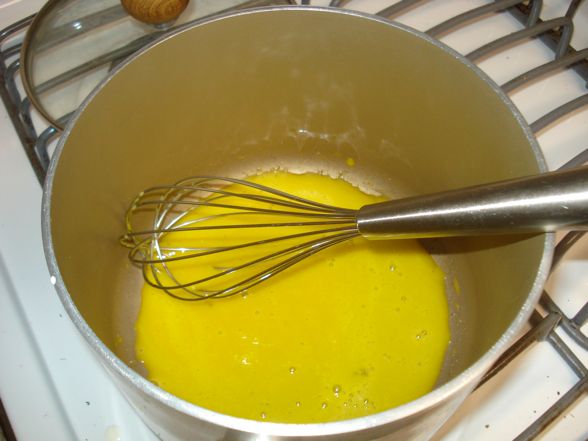
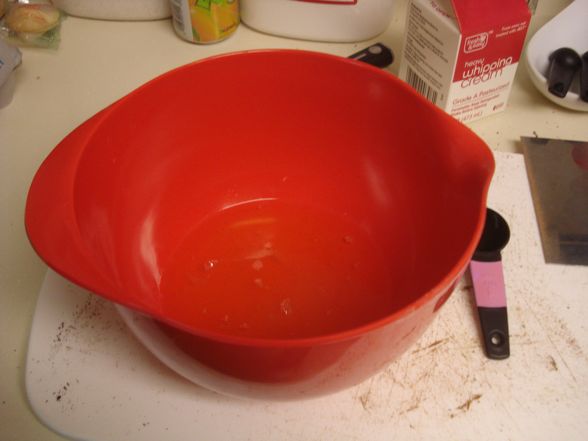
In a saucepan, I whisk together several egg yolks. A mighty custard shall soon spring forth.

Chocolate = melted.
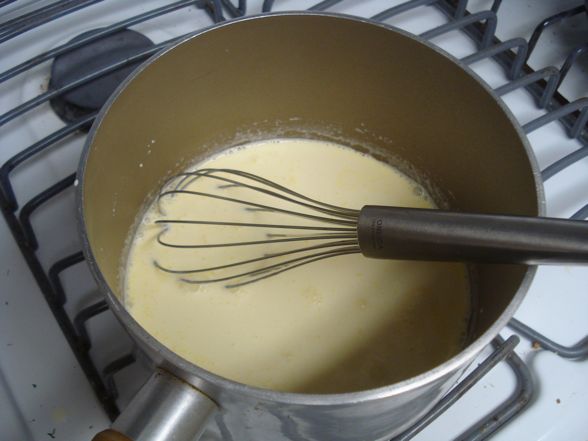
Over a low heat, I add some heavy cream to the eggs. This is followed by gentle whisking and mild anxiety.

I soon upgrade to a wooden spoon for further custard exercises.
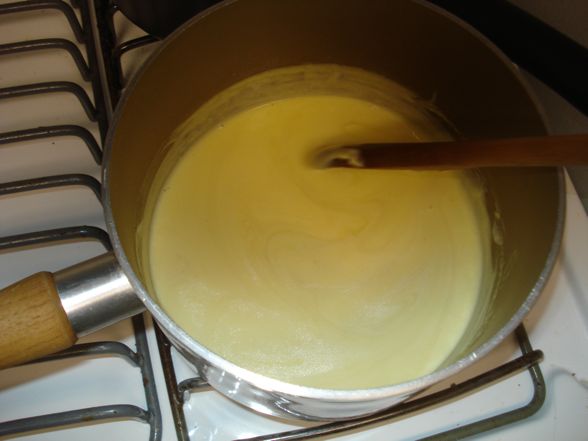
I’m not sure how thick it should be; so I just keep stirring until I feel satisfied with the current viscosity.
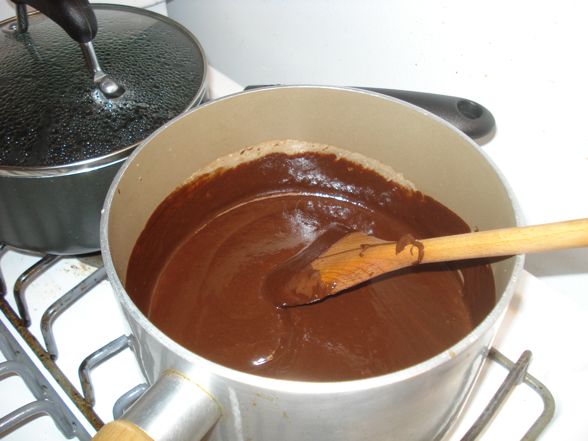
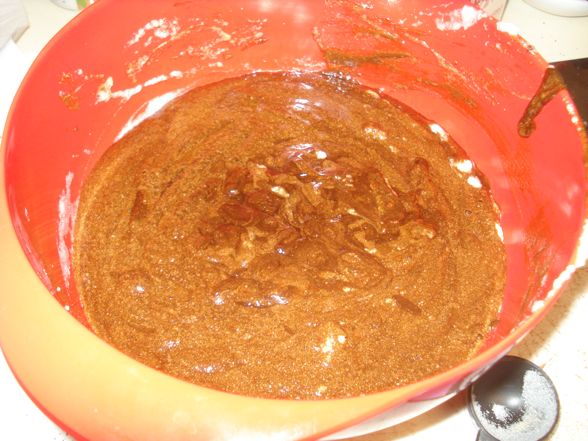
Once the custard has reached a happy place, I stir in the melted chocolate. So far so good.
Elsewhere in the kitchen, a bowl of egg whites awaits.

I beat the eggs until they develop soft peaks. I decide that this looks soft.
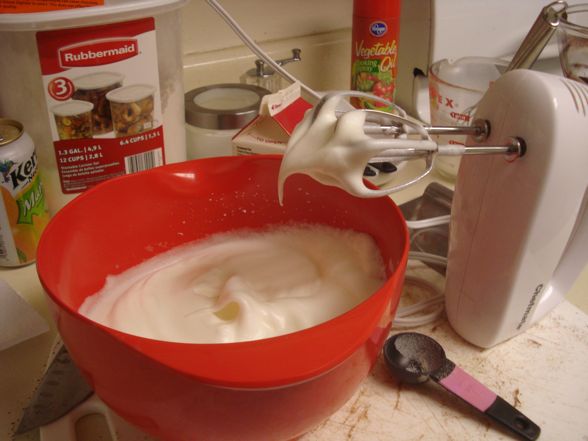
Sugar is added, and then I must beat again until the whites become shiny, stiff peaks. This is sort of foreign territory to me, but I feel this is about right.
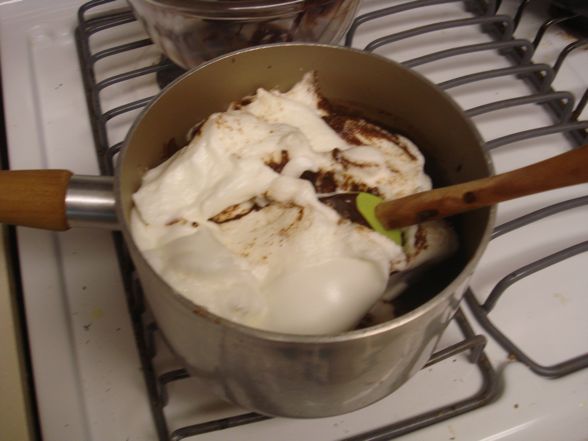
Next it’s time to fold the whites into the chocolate custard. Do I fold them in a little at a time or all at once? I opt for all at once as there are no prohibitions against it.
Using classic French technique, I fold the whites in, fearing at every turn that I am positively deflating the SHIT out of all my fluffy hard work. I’m so scared, in fact, that I essentially cease all folding at this point, despite a few unintegrated egg whites poking through.
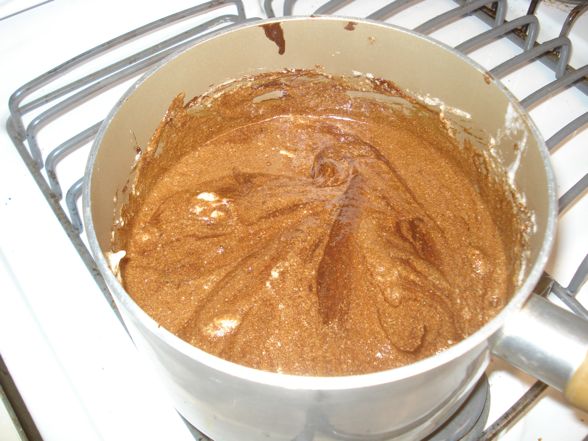
I then must pour the whole thing back into the egg white bowl for refrigeration. The transfer helps mix in the whites (AND ALSO DEFLATE THEM FURTHER — THE HORROR!!!!)
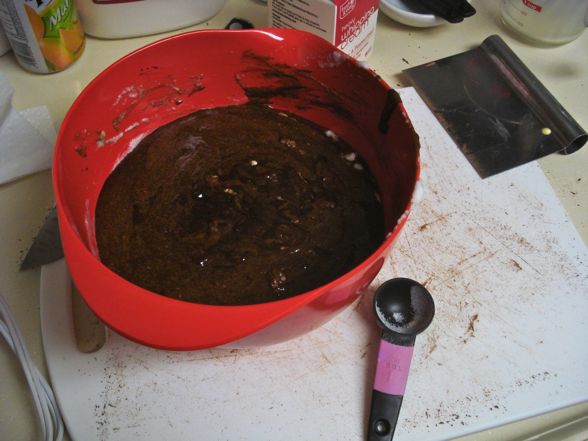
Ultimately, this mixture goes into the fridge, and I’m fairly convinced that I have ruined EVERYTHING.
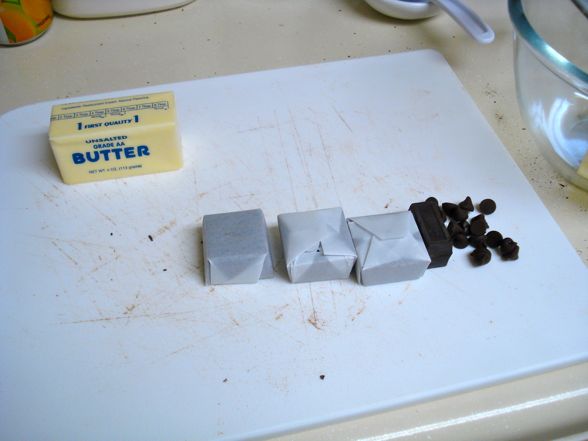
Now time for phase II: the brownie shell. The recipe calls for three ounces of bittersweet chocolate and one ounce of “best quality” semisweet chocolate. Unfortunately, I only had half an ounce of semisweet baking chocolate; so I subbed in some chocolate chips to fill out the order. Scandal.
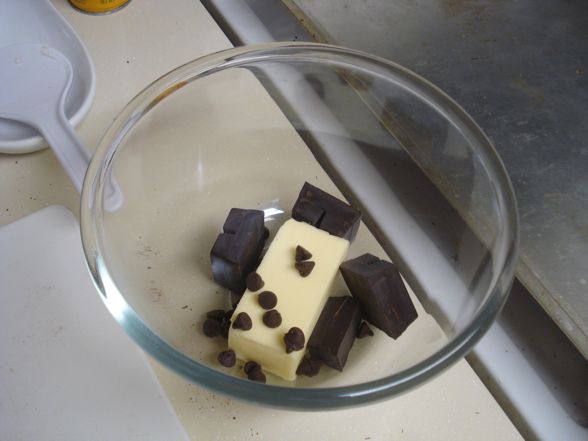
Time for more melting — this time with butter!
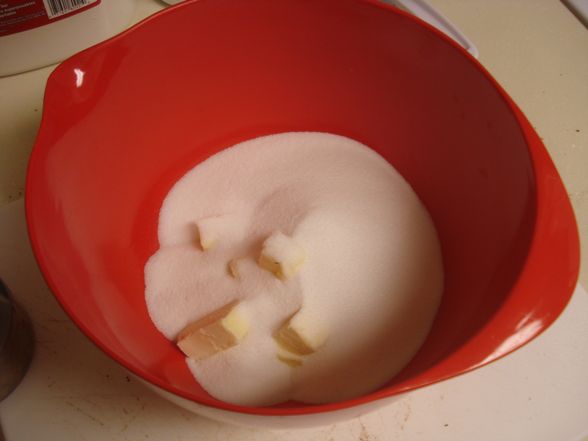
Why use one stick of butter when you can have two? Case in point: a second stick must then be creamed with a huge amount of sugar.

Voila. The creaming process is a bit violent as the hand mixer often sends airborne specs of sugary butter zipping out of the bowl, but I manage to keep most of the contents tamed, ultimately leading to a light and fluffy end product, as directed.
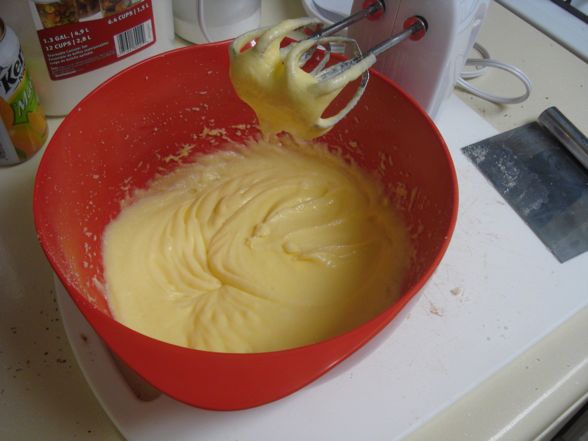
Next I beat in some eggs to a lovely effect. This is followed by salt and vanilla extract.
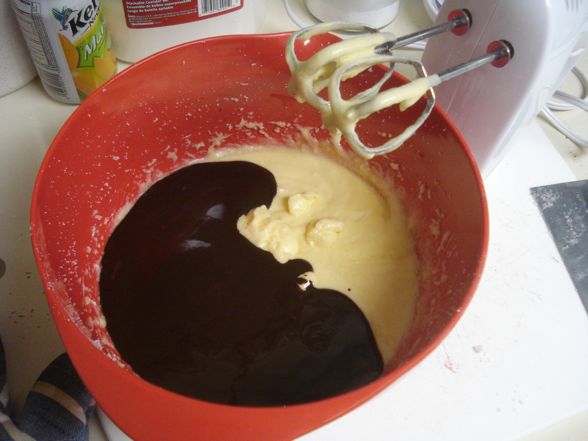
I then pour the melted chocolate mixture into the batter. It instantly reminds me of a black and white cookie, and I must consequently fight the urge to hop in my car and find one posthaste..
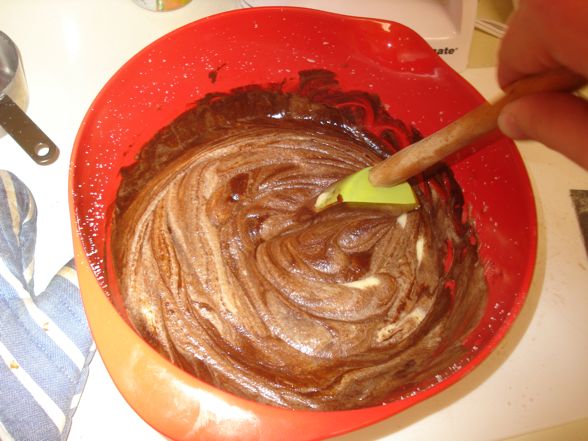
Joyful mixing.

To paraphrase Schindler’s List (as I often do when baking), the batter is LIFE!
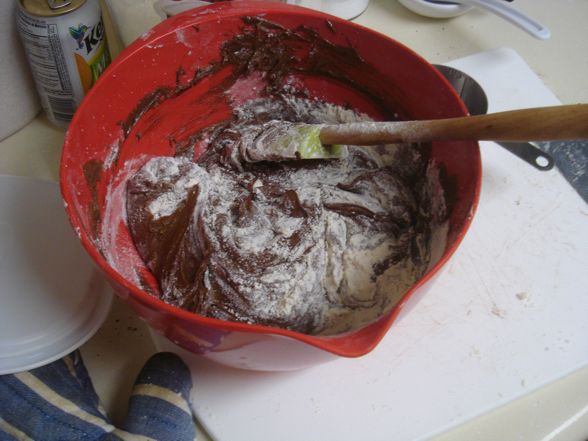
Time for some general flour action.
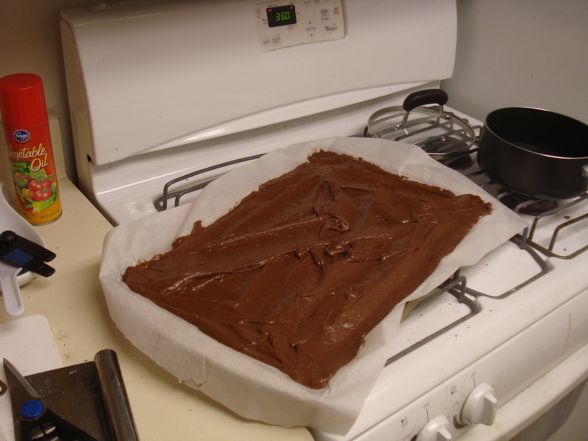
Finally, I spread the whole thing over buttered parchment paper in a 11″ x 17″ metal cooking tray / jelly roll.
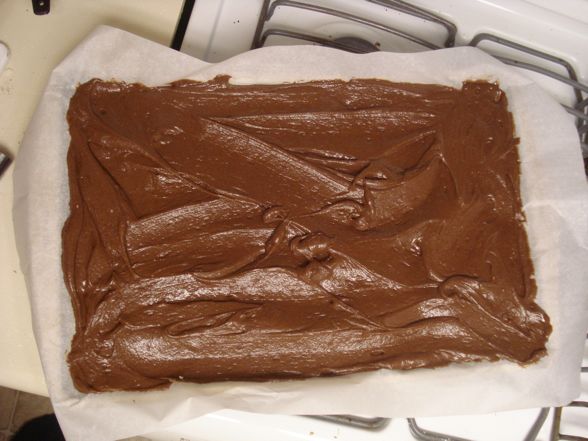
Godspeed, young batter.
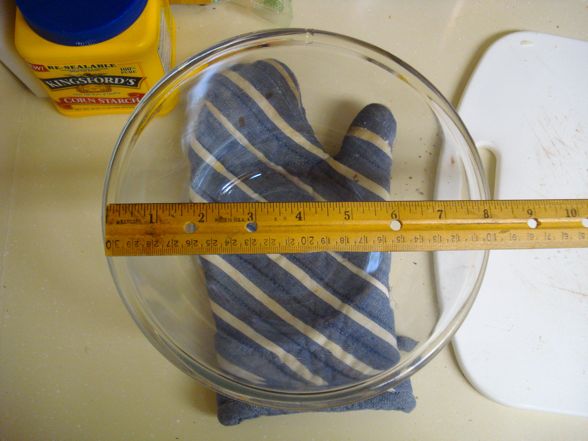
With the brownie batter baking (at 350 degrees, twenty-five minutes), I must attend to some light yet necessary crafting. Here I am measuring the diameter of the bowl (inexplicably placed on an oven mitt) that will serve as the mold for the bombe.
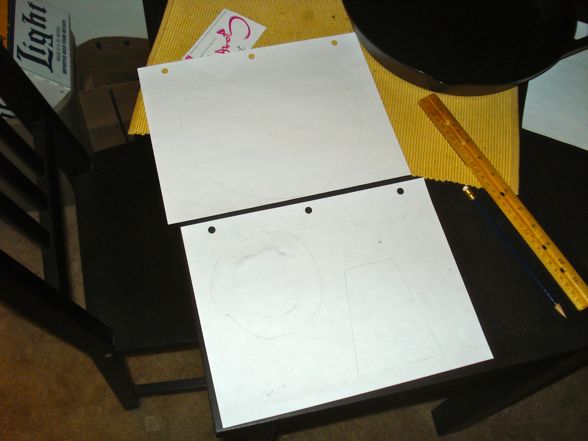
I then draw various shapes based on those measurements. These will serve as necessary guidelines for later brownie cutting.
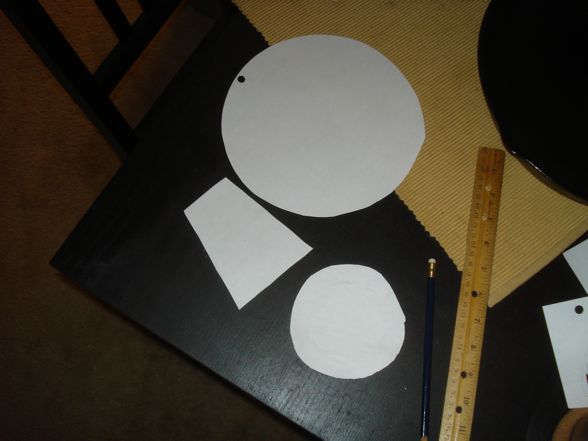
Behold the templates. The little circle will be used to form the top of the bombe (which is actually the bottom of the bowl); big circle will be the bottom of the bombe (top of the bowl); and the trapezoid will form the sides.
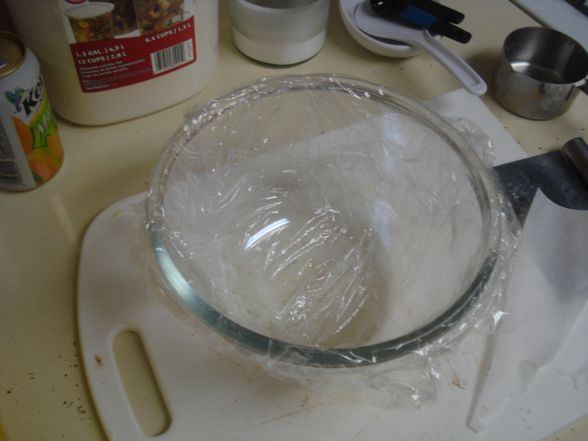
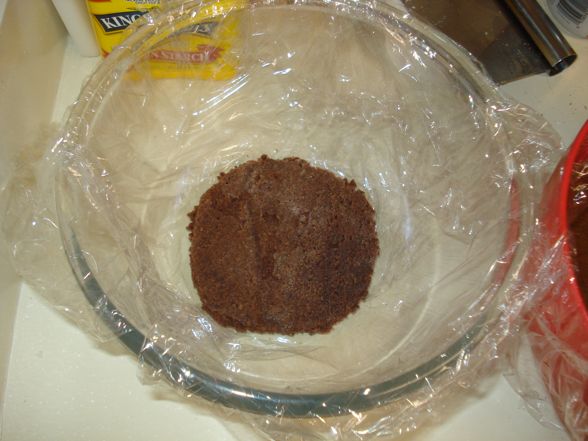
Now I must line the bowl with plastic wrap for clean unmolding later in the process.
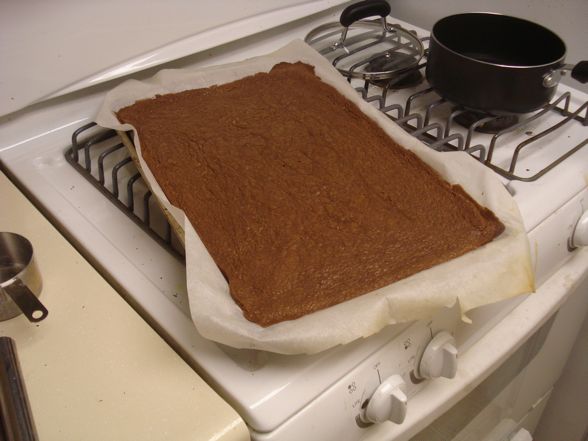
At twenty-three minutes, the brownies are done. They must cool in the pan for ten minutes.
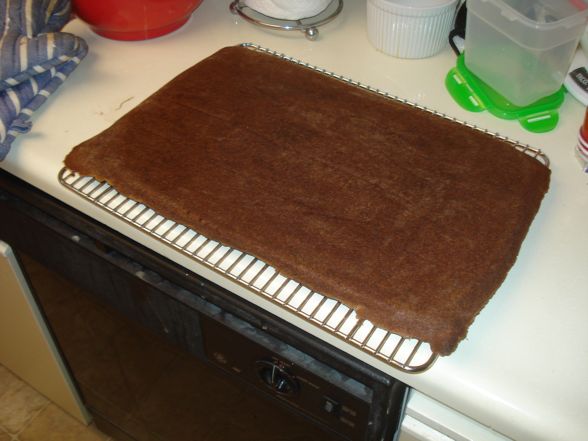
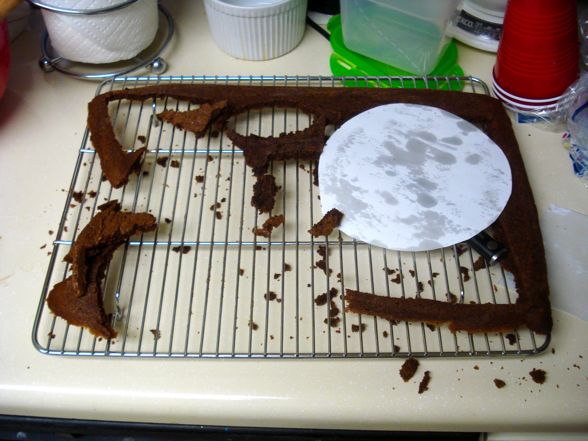
And now the cake must cool on the rack for another ten minutes.
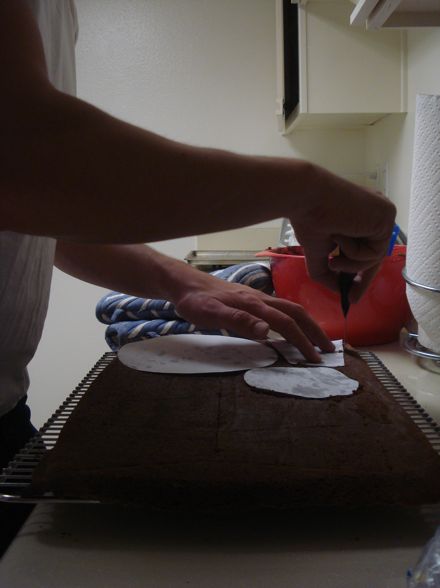
Finally, I begin the cutting process. It’s a bit of a puzzle making sure there’s enough space for all the shapes. I need two circles and six trapezoids. I merely score the cake at first, just to make sure I don’t start cutting and then run out of space for a necessary shape.
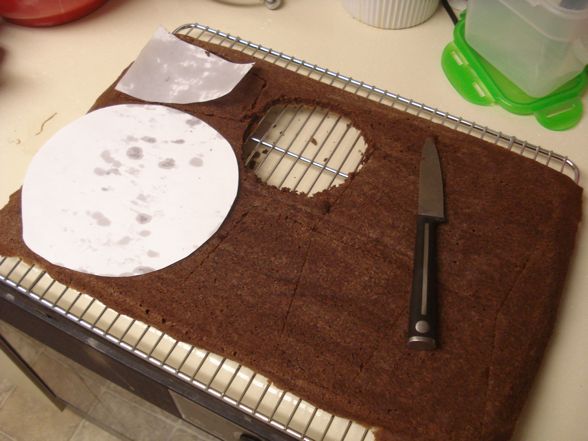
Popping out first is the lil’ circle.
Bloop!
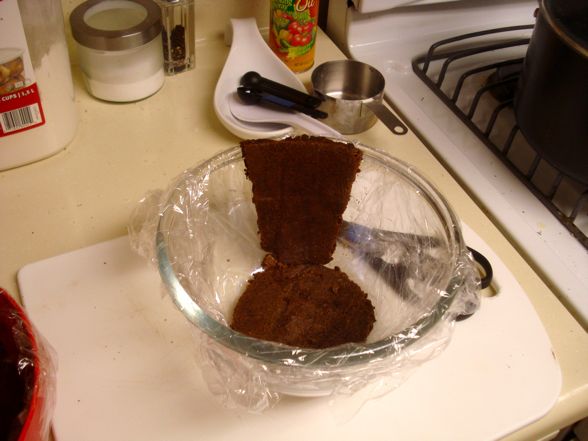
And so it begins.
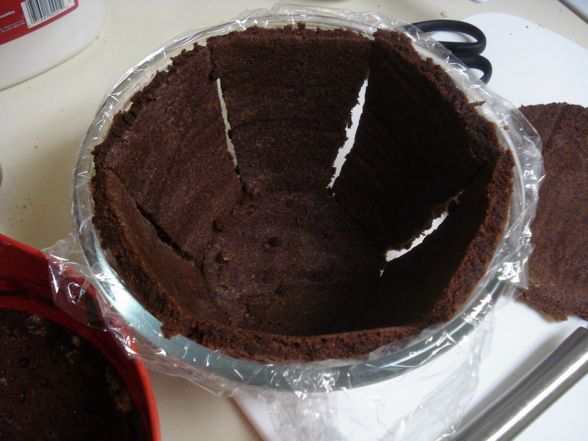
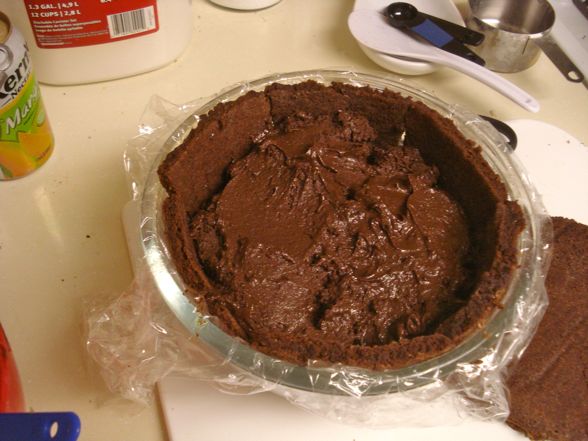
Soon, the whole bowl is lined. It’s time to fill with the mousse.
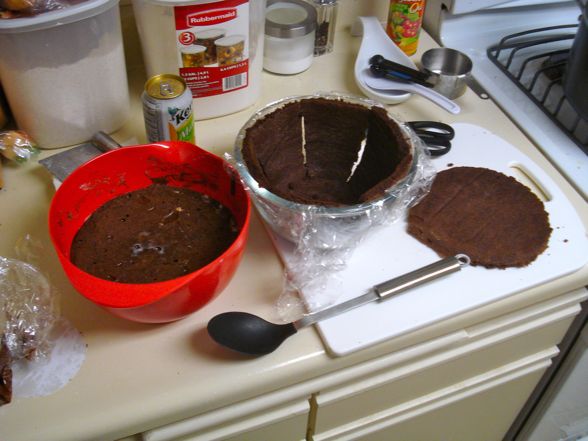
Any fears I had about the mousse’s outcome are swiftly dashed as I take a small taste. It is outstanding. Truly.
Into the mold goes the mousse, which is a bit firm from the fridge. Probably should have let it sit out another ten or fifteen minutes.
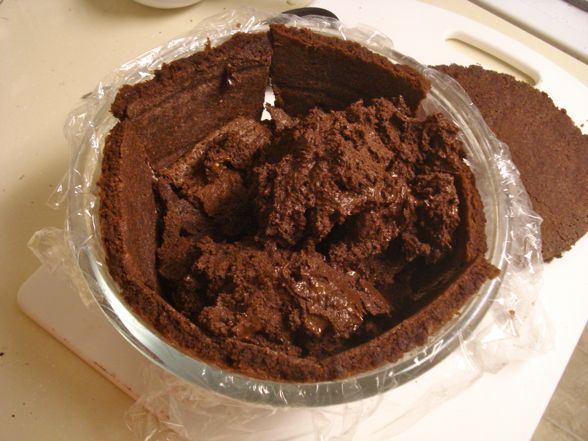
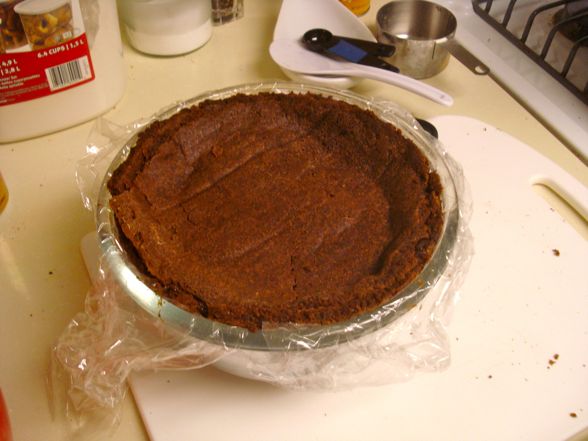
When I’ve filled half of the bombe up, I then take most of these brownie scraps and pile them on top of the mousse. They essentially form a neat layer inside the cake. Whatever scraps go unused are then placed in a container for later consumption.
Further mousse filling.

Soon I’m ready to place the “lid” on the cake.
The hatch is closed.
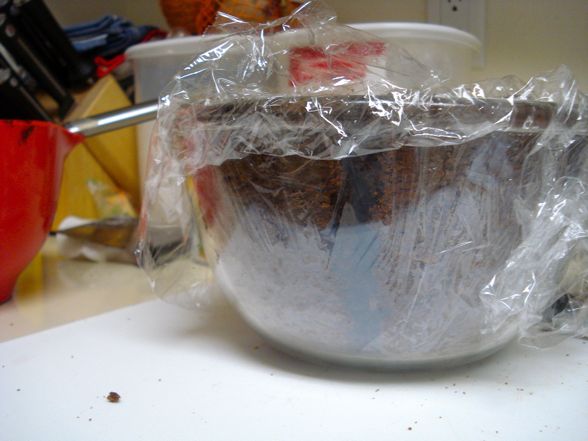
I cover the bowl up with plastic wrap and place it in the fridge overnight…
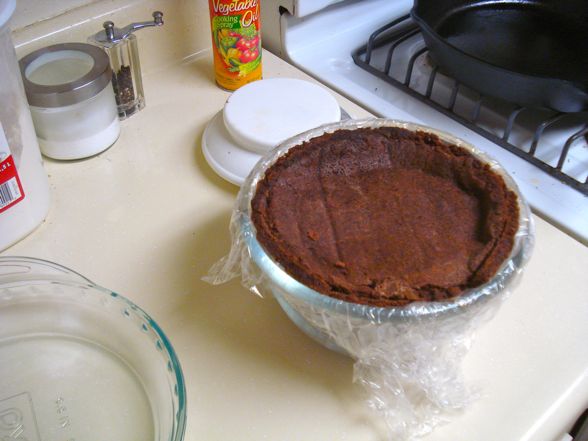
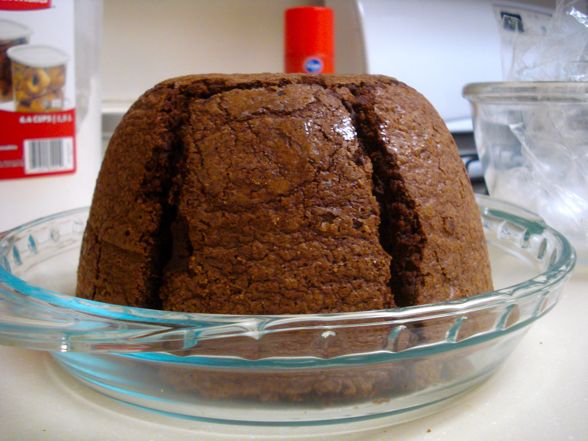
And now the third and final phase: unmolding. Here’s the cake the next day.
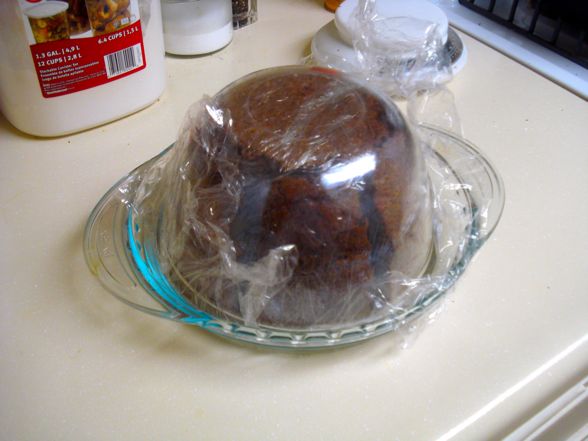
After loosening the cake by tugging on the plastic wrap a bit, I invert the bowl on this pie dish. Moment of truth…
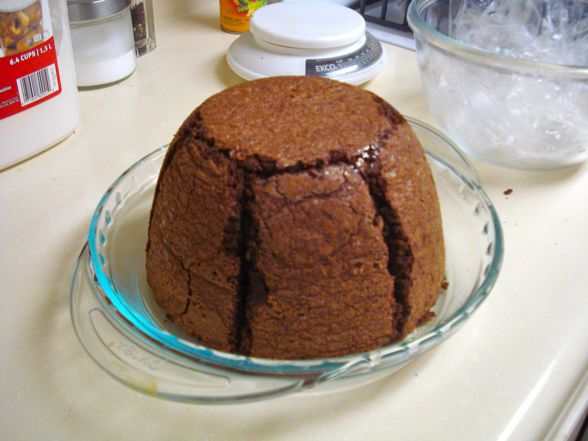
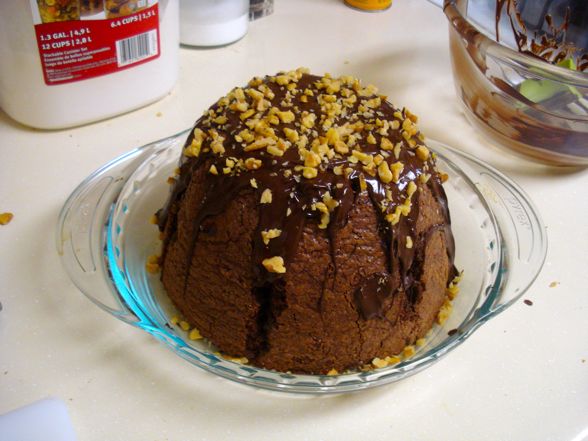
Ta-da! Gotta admit, this looks somewhat amazing. (Resisting urge to make a stupid pun about “da bombe”)
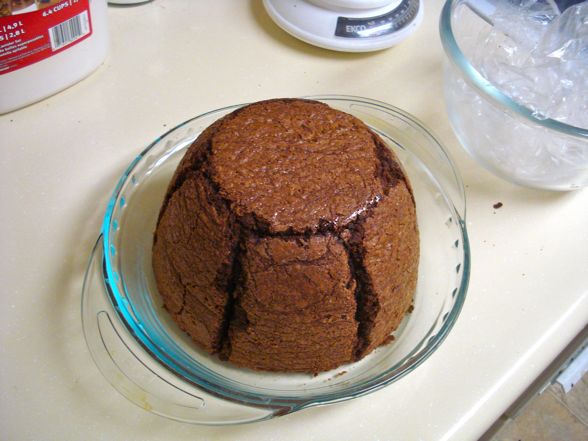
I can’t wait to dig into this, but there’s more work to be done.

I can’t stop gawking at the bombe though.
I should note, btw, that this thing weighs like ten pounds.
Anyway, time for more melting. I must again use chocolate chips, even as I hear Ina Garten in my head warning me of STABILIZERS.
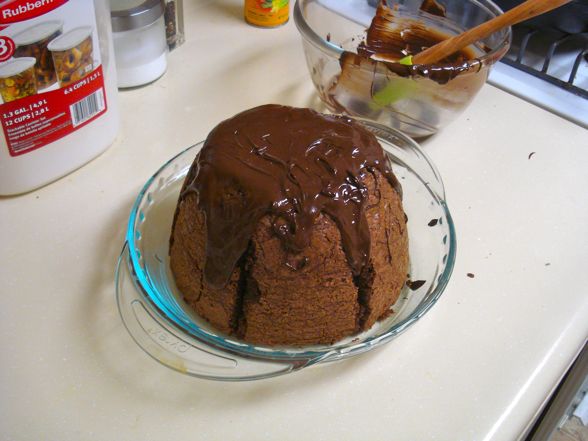
When all is melted, I pour it over the cake, letting the chocolate seep down slowly. Actually, it’s a bit too slow. I don’t know if it’s because the cake is so cold or the STABILIZERS are taking effect, but the chocolate doesn’t seem to want to flow down the sides much. I have to coax it along with my scraper.
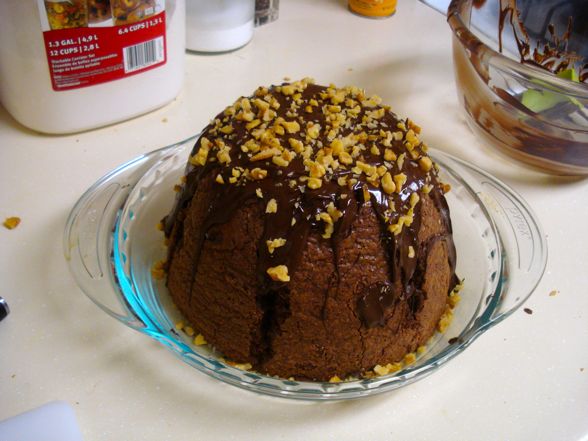
Once I’m somewhat happy with the state of the chocolate, I then sprinkle the cake with chopped walnut pieces. It looks all professional ‘n’ shit!
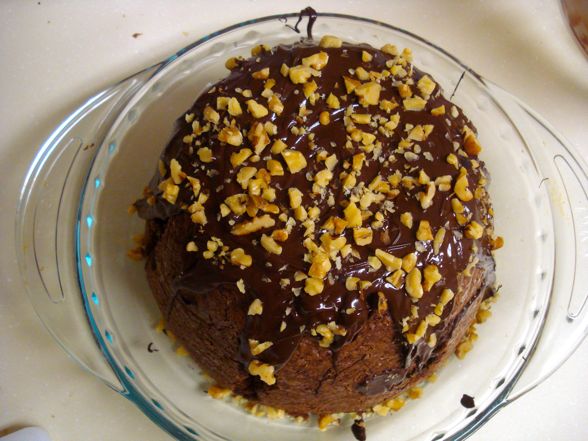
This may be the most lovely thing I’ve ever made.
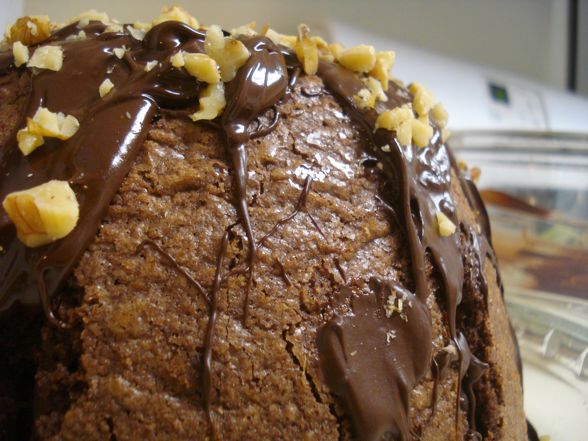
Macro shot!
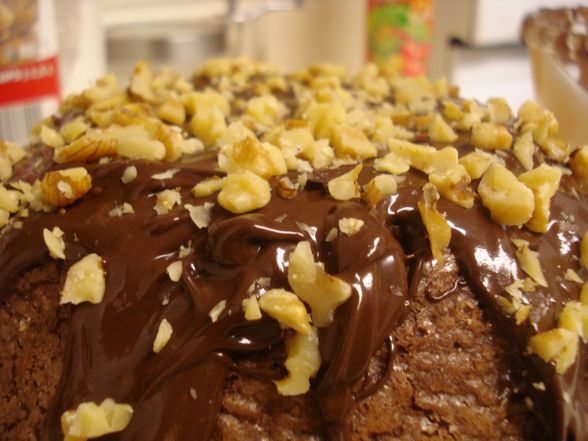
Walnut bliss.
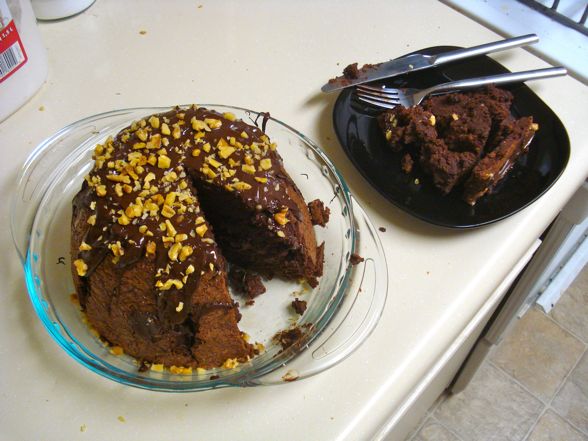
It’s heartbreaking to do this, but I must take a slice.
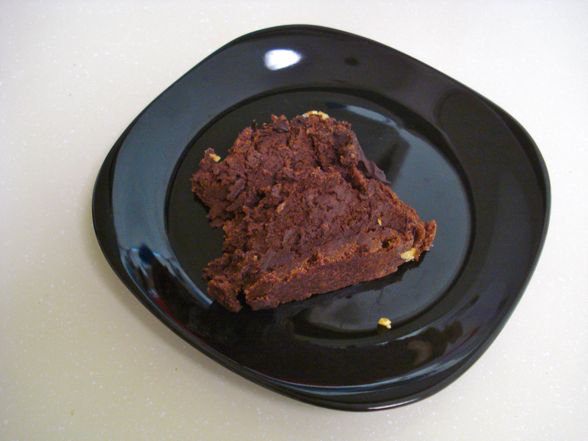
To say I’m excited is an understatement.

This is like chocolate insanity.

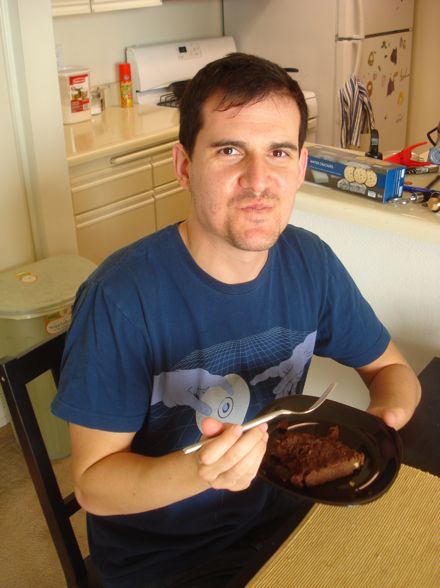
My friend m_ruv takes over camera duties to capture this dramatic occasion. I don’t know why I have such apprehension in my eyes.

Me, ready to do this.

Taking a bite…

HOLY MUTHA-EFFIN $@*&$@
Yeah, it’s good.
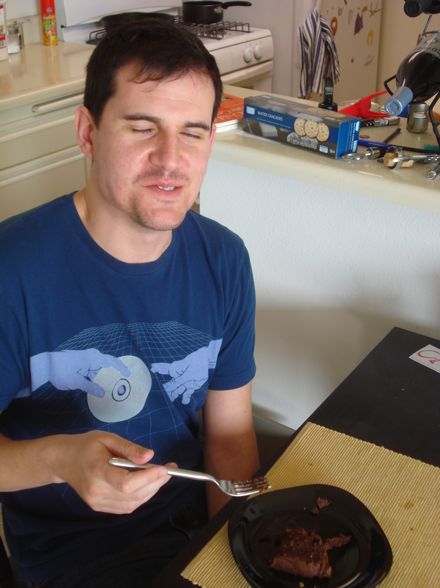
It’s REALLY good.

Me, lost in chocolate heaven.
Do I even need to explain the results? This bombe aux trois chocolats was truly amazing. It was probably the best dessert I’ve ever made. Everything about it was just right. I have no tweaks to make! It’s just choclate-y perfection. I should also note that it’s astoundingly rich. One slice will nearly send you right to bed. Oh, but it’s worth it. Truth be told — it’s really not that hard to make either. It just takes some time, what with the mousse and later the bombe needing to set. Definitely highly recommended. Hmmm… I may need a slice right now…
THAT LOOKS SOOOOOOOOO GOOOD!!!!!!!!!!!
Deeply concerned I wasn’t invited to stop by to try a taste of that masterpiece!
You have inspired me to make a Julie Child recipe
Do you think that the mousse would make a good chocolate pie?
omg, you truly inspire…
also, as a side note to the chocolate, is that a woot shirt you’re wearing?
I got a chocolate buzz just from reading. Yummy! I’m going to try it.
Wow, B, truly impressed. Nice work!
That truly looks delicious. With all the cooking that you do, I’m surprised you use a hand mixer. I pictured you with a professional mixer.
You done good.
I think we’ve now seen B-Side’s “O” face.
Wow. The pictures of the finished product almost made me sob at the lack of bombe in my own house.
Looks delish! great job – yummmmmmy!
BTW – have you had your cholesterol checked lately?
Wow. That looks so awesome! Since I don’t like nuts with my desserts, I would probably opt for mini chocolate chips or sprinkles for garnishing. MMM–just thinking about it now has me making MY “O” face. 😉
Well done Sir! That’s a spectacular feat of baking prowess!
b, u rule.
I want to experience that “HOLY MUTHA-EFFIN $@*&$@” too! Where’s the link to the recipe???
Hello,
All I can say is GOOD FOR YOU! I have been a fan of Julia’s for many years and when she turned 85 I began my annual Celebration of Julia Child’s Birthday with French inspired dinners for my friends who look forward to the second Saturday in August every year! I have made the magnificent Bombe aux Trois Chocolat as many as 10 times and you have inspired me to make it again soon. If I can suggest two other recipes that come from “Julia Child Menu Cookbook” which is the combination of two of her books,”Julia Child & Company” and “Julia Child and More Company”, would be the Boeuf ala mode (pot roast) and her version of Cassolet. Both are simple fantastic. I loved reading your account of making the “bombe”.
-Ric
I made this for my daughter’s birthday & it turned out great. All the pics were really helpful. While time consuming, it was pretty easy.