
In life, I have two loves. Well, actually I have many loves, but for the purpose of a snappy introduction, I’ll limit it to just two: Nintendo and The Real Housewives of New York. For many years these passions have lived in separate, perhaps decaying parts of my brain, but I’m happy to announce that I’ve finally been able to bring them together for the crossover experience that I’ve always dreamed of.
It all started with the release of Mario Maker 2, a virtual sandbox of a game that allows users to create their own Super Mario boards (ie my lifelong dream since 1986). What better use of Mario Maker 2‘s expansive abilities than designing a tribute level to my most favorite Real Housewife of all: Countess LuAnn DeLesseps?
And so I got to work crafting a sprawling world that could tell the story of Lu’s turbulent life over the past three years: from Sag Harbor single lady to yacht-riding newlywed to hard-drinking convict to triumphant cabaret star. In other words, I spent way too much time making this damn board.
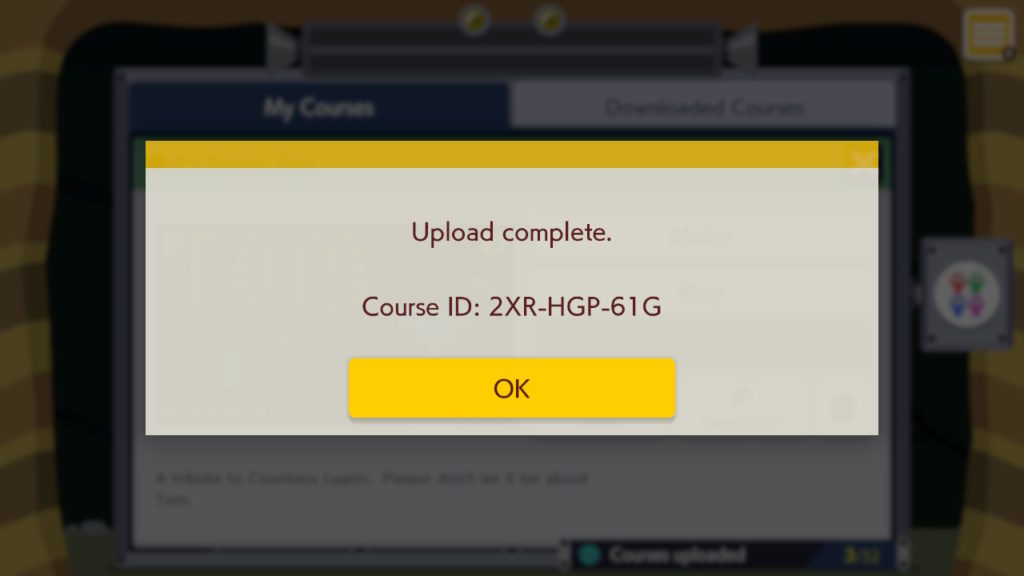
Unfortunately, not everyone has a Nintendo Switch on which to play Mario Maker 2; so for those who wish to pay homage to Countess Luann (or for those who simply are having difficulty beating it), let me take you on a visual tour of the level — simply titled “It’s About Tom.” (2XR-HGp-61G)

We begin in LuAnn’s humble Sag Harbor home. It comes with all the Lu necessities: a disco ball, musical notes, and the promise of star power. Go through the door below the disco ball.

Congratulations! You have found LOVE. Collect the heart of coins if you wish and then proceed onwards through the pipe on the right. Those who wish to bask in the love may receive a special treat…
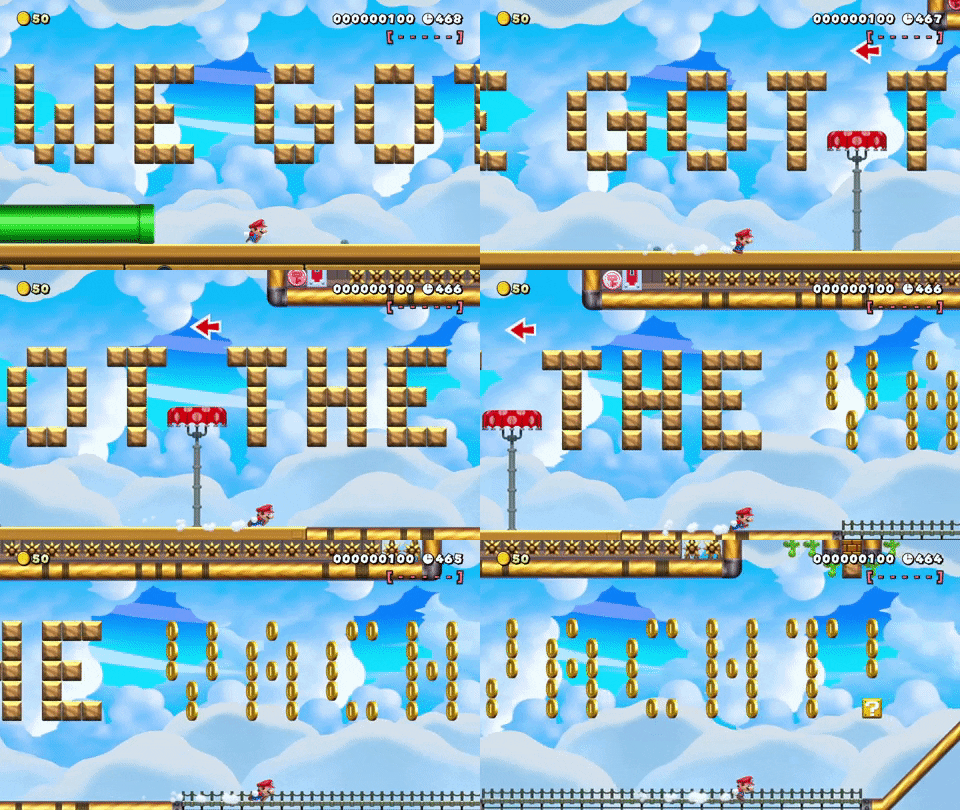
You emerge on a beautiful, sunny dock. Head to the right and get on your yacht!!!
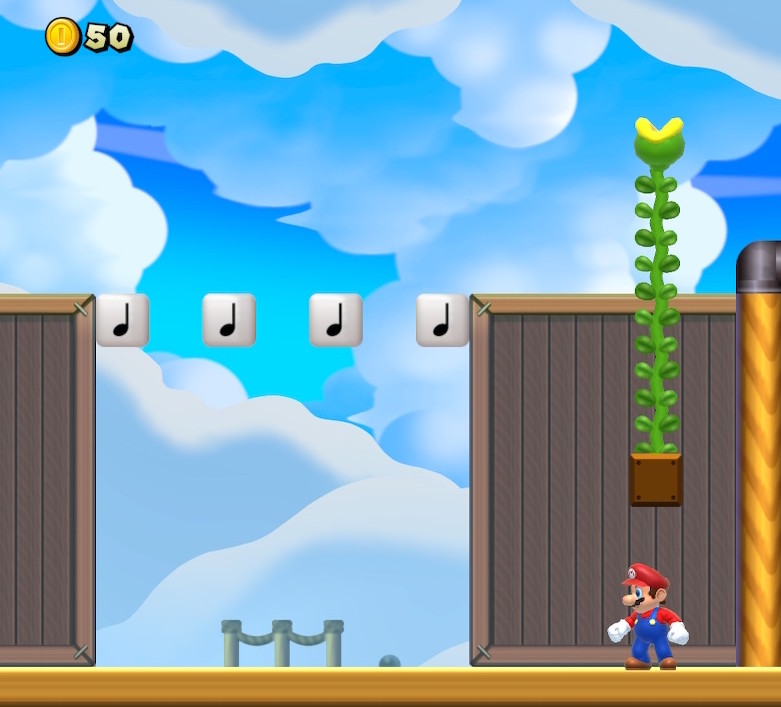
You’ll soon encounter some musical notes bridging two large crates. Drop down and hit the question blocks. The one on the left will get you a mushroom. The one on the right will send a vine skyward.

Climb the vine. It will take you to the first of five red coins — shrouded in MUSIC, naturally. Grab the coin!
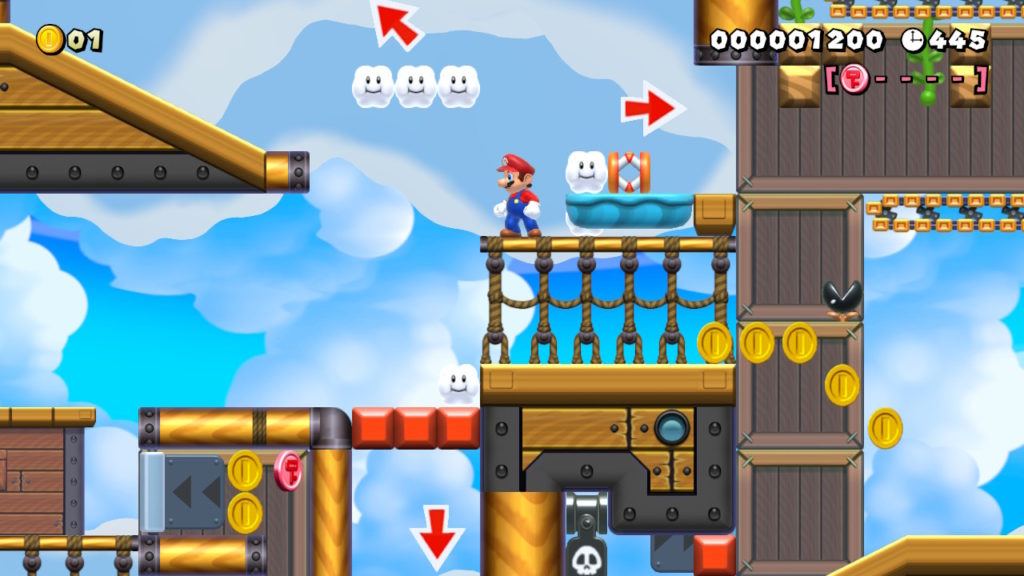
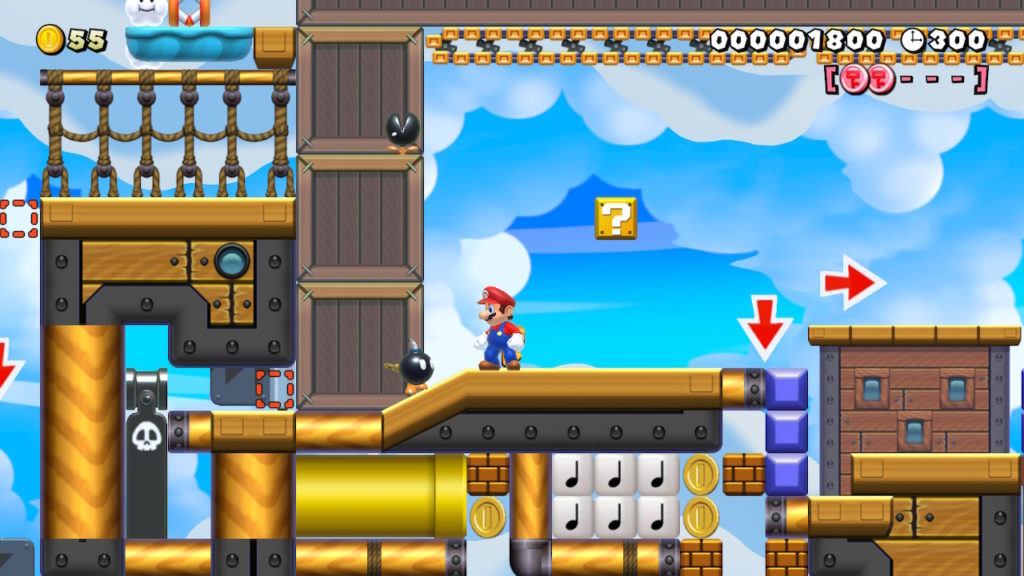
Head to the right of the vine. You’ll ascend a small ramp and come to an area with arrows pointing east, south, and northwest. This is the central intersection of the level. The south is barricaded by red blocks. If you head to the northwest, you’ll find a pipe that spews mushrooms. Feel free to partake. When you’re ready, head to the east where you’ll find your first major challenge: Ramona.
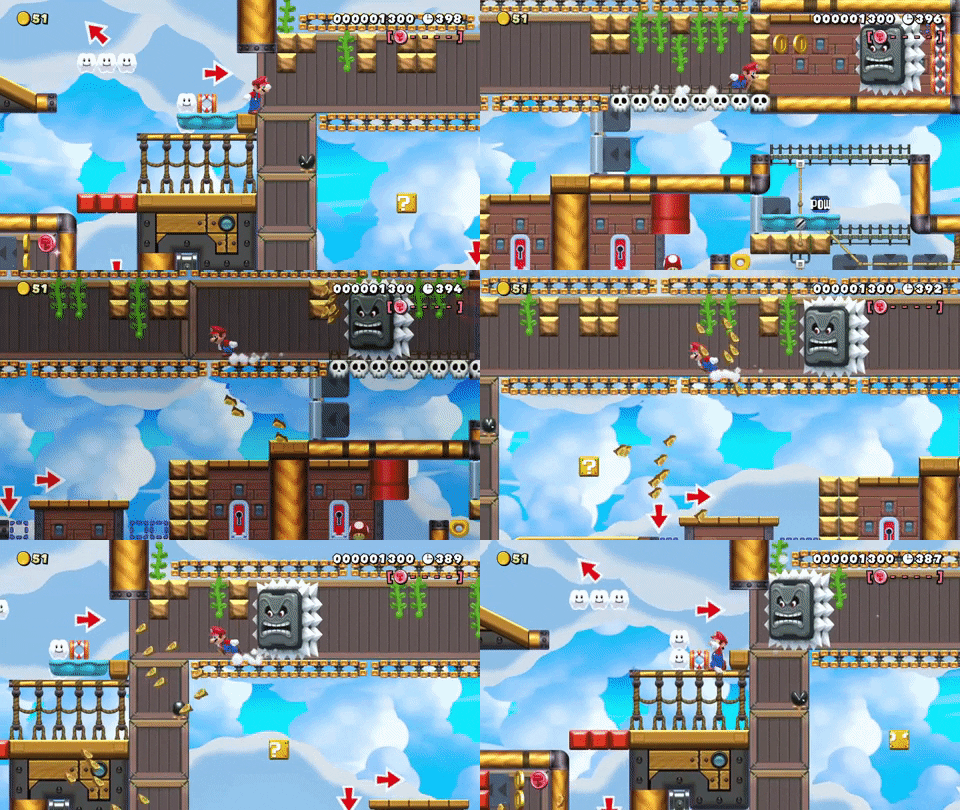
To get to Ramona, follow the arrow and head down the series of conveyor belts and across the bridge of skulls. When Ramona (aka a giant Thwomp) sees you, she will charge at you. Run back the way you came and don’t stop until Ramona retreats.

As per usual, Ramona will cause a wide swath of destruction. Her chaos is your fortune as you now have access to a vine. Climb it and head to the right over the conveyor belts.

You’ll eventually fall down into a room. Head to the hanging P-Switch and strike it.

Once the P-Switch is activated, the Bill Blasters will drop, allowing a small Thwomp to strike the On/Off button. Conveniently, this destroys Ramona, and you’ll be rewarded with a key.

Follow the path back west, arriving back at the central intersection. The red bridge is now gone, which means the southern passage is at last open. Before heading that way, if you’ve sustained any injuries, definitely head northwest to grab a new mushroom from the pipe. Otherwise, proceed to the south.
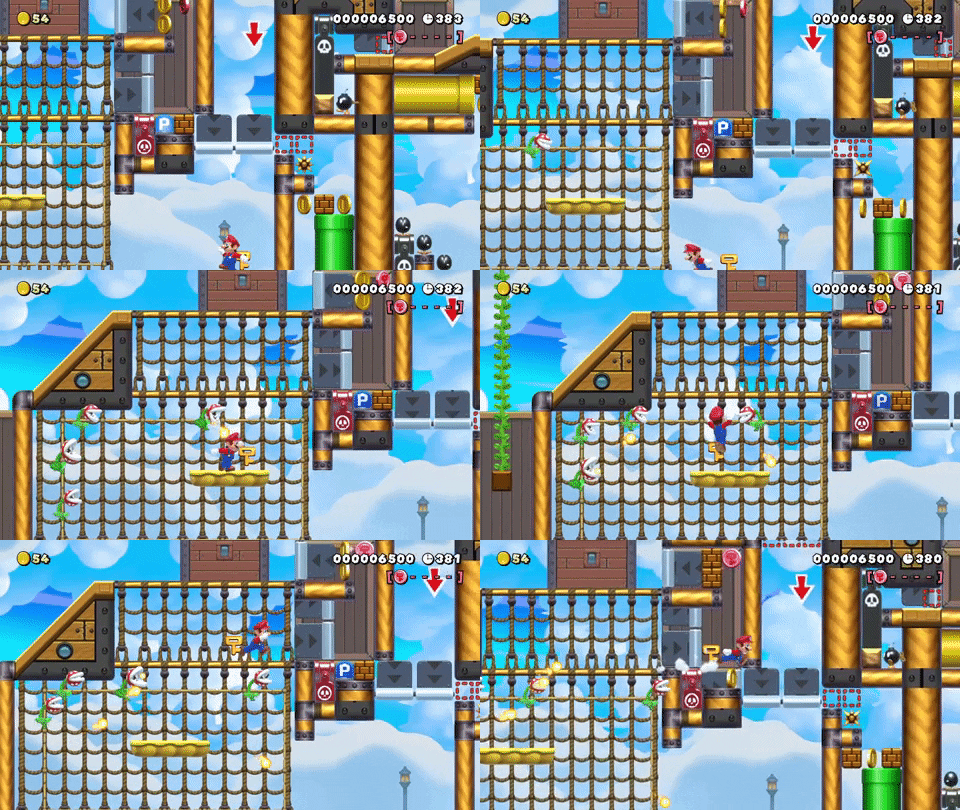
Once you land on the floor, head left and jump onto the moving platform. From there jump to the first tier of ropes. You’ll have to move quickly to avoid the circling Bethenny plants who are spewing fire at you. (This is why it’s good to be powered up before entering this gauntlet).
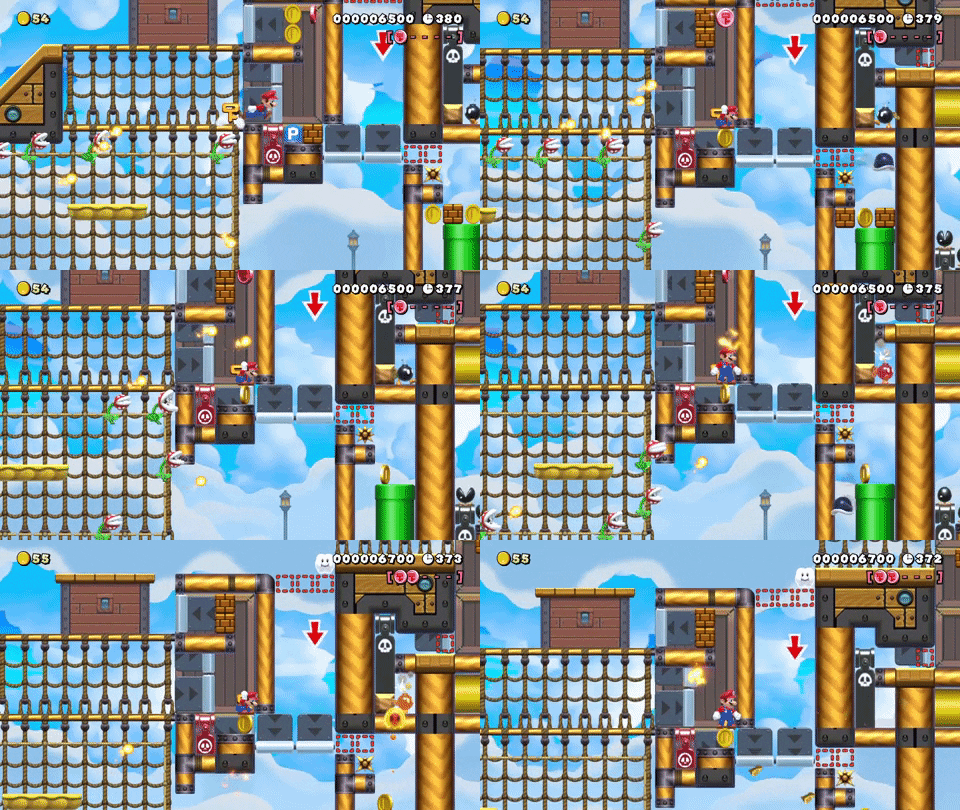
Immediately run to the right. You’ll activate a P-switch which will unblock a Bill Blaster beneath you. It will shoot a shell across the way, which will in turn destroy the bricks that block a pipe, which in turn will release a lava bubble, which in turn will activate a Bob-Omb, which in turn will destroy a block, which in turn will lower a Bill Blaster. Got it? While this happens, be sure to claim the second red coin above you. And don’t forget that Bethenny’s fireballs can still reach you; so be careful!
Now that you’ve lowered the Bill Blaster, leave this small room by jumping up and heading to the left out the one-way gate. Head a few steps east, bringing you back to the central intersection. Jump over the southern path and head to the southeast, below the Carole Radziwill (aka Chomper) to an area with two arrows (one pointing east, the other south). If all has gone to plan, the newly activated Bill Blaster is now sending some blithely unbothered Sonja Morgans your way (aka Bob-Ombs).

You’ll notice a locked door to the right behind a barrier of blocks. Grab a Sonja and throw her at the blocks. This will break the wall. You’ll need to do this two times at least. Now use your key to open the door.

In this new area you’ll see a POW block nearby. You want that. To get it, you must first drop down using the donut block. You will land on a red platform.

As an optional side quest, you can use the Sonja Morgans to blast away the blocks over the door. This will lead you back to the central intersection, thus providing you with a small short cut. If you blast away the blocks to the left of the door, you can grab a 50 coin (in honor of Lu’s new friend, Cynthia Bailey, aka 50 Cynth).

After grabbing 50 Cynth, you can even blast two more blocks to extend the shortcut to an area you will be visiting a little later. No need to head that way now though. Head back to the red platform you dropped onto from the donut block.
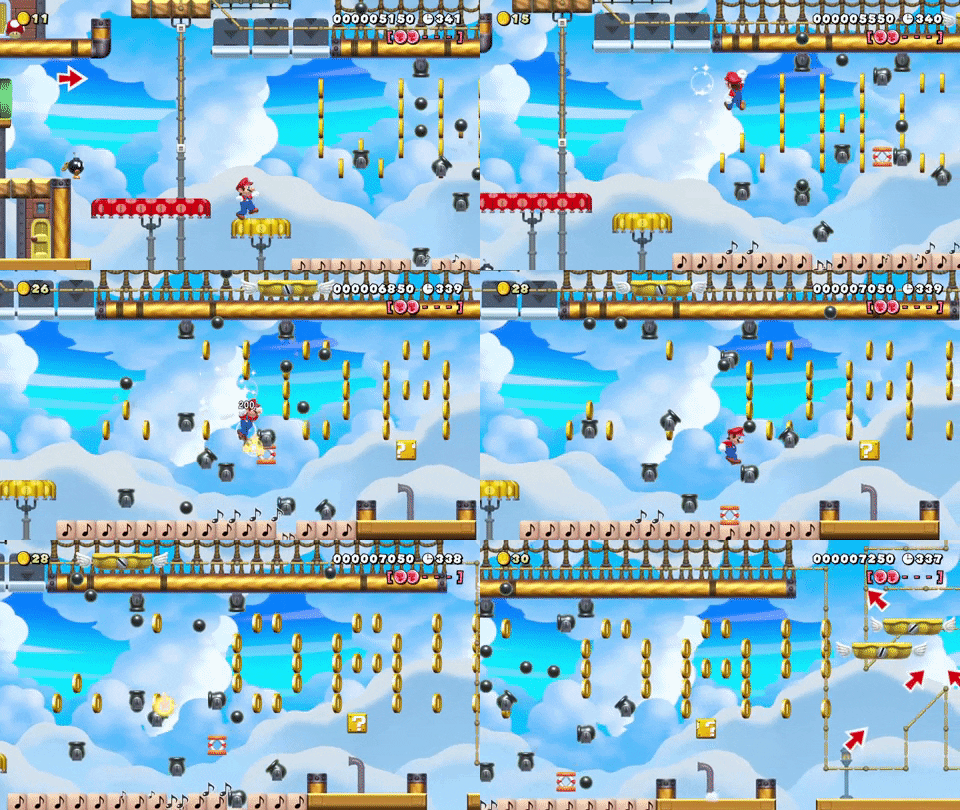
From the red platform head right and make your way across the hideous room of bouncing cannons, also known as Wednesday Night at the Regency. The best bet is to just hurl your way through the madness. Try not to get caught under any descending cannons or else it’s instant death. As Ramona would say — WHOA!

After surviving a barrage of attacks from cannons who want to destroy Lu, you’ll next have to navigate a confusing tangle of RUMORS, aka moving platforms. You’ll eventually find one that will rise up high (its rail originates directly above a lamp in the background). Ride it to the ceiling, avoiding the Carole if necessary.

Hop on the Ramona Blue blocks and hit the On/Off switch. You’ll gain access to your third red coin. This will also unlock a useful elevator near the POW block that you may need later on, depending on your clumsiness.

Now that you’ve navigated the maze of scandal, ride a platform west through a narrow passage. It will lead you back to the POW block.
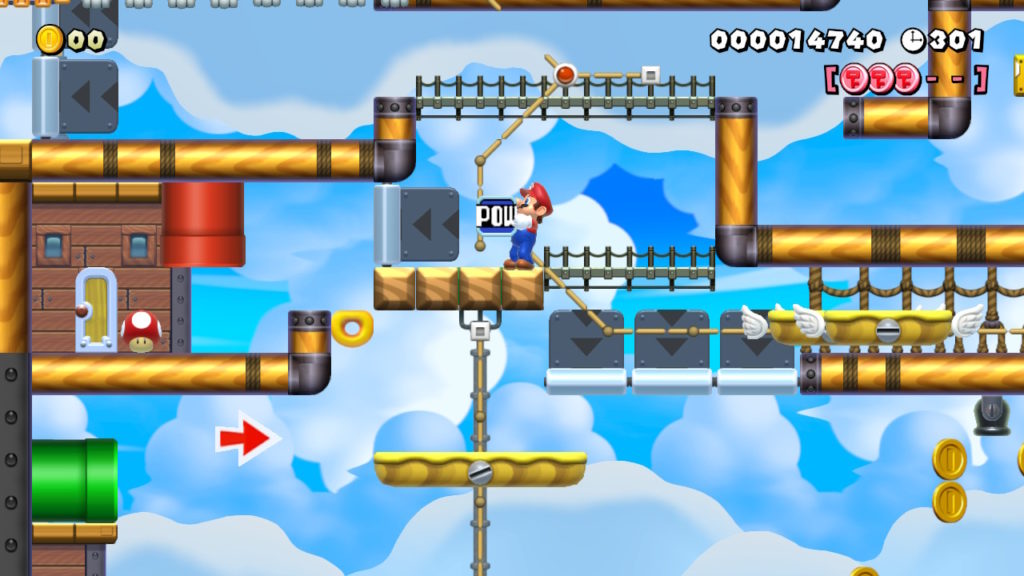
You got the POW block! Now take it back through the door you came from. Alternatively, you could jump up through the bridge above your head and then head to the left. It really doesn’t make much of a difference. Remember to be cool — don’t be all… uncool and drop your POW block. If you do, you must re-enter this area via the door (doors reset POW blocks, P-switches, and vines) and ride the newly unlocked elevator up to the POW block.
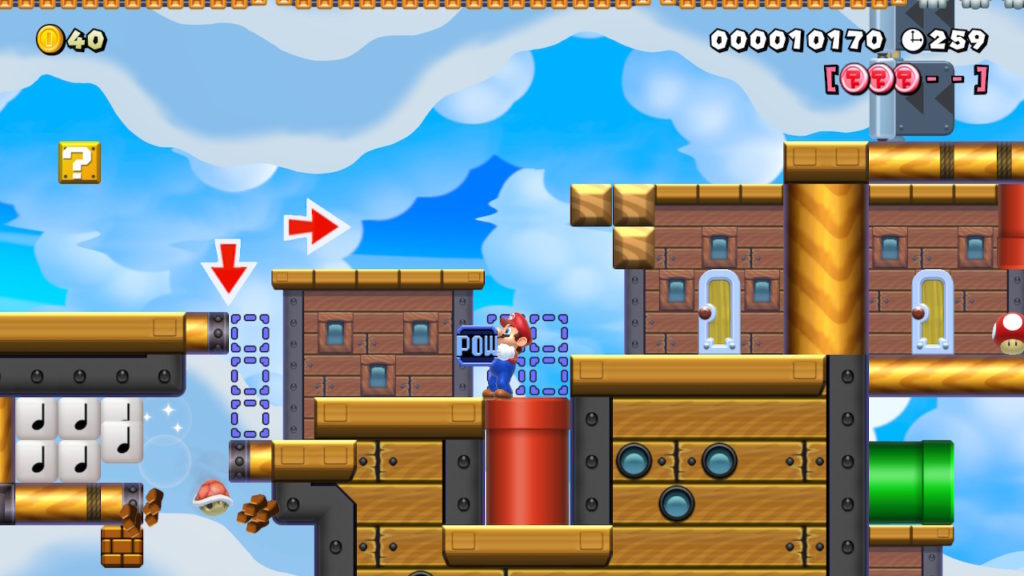
With the blue blocks turned off, the red pipe now produces a red Koopa Troopa. Stomp and kick it, ideally to the left so you don’t injure yourself. The shell will break open the floor (you may have done this earlier if you were exploring — no biggie). Follow the shell south, as per the arrow’s suggestion.

You will descend into a room, which should have sprouted a vine for egress. If you had done the optional side quest, you would have access to the right path, leaving you the option to skip the vine and traipse over to the shortcut door when you’re ready to leave.
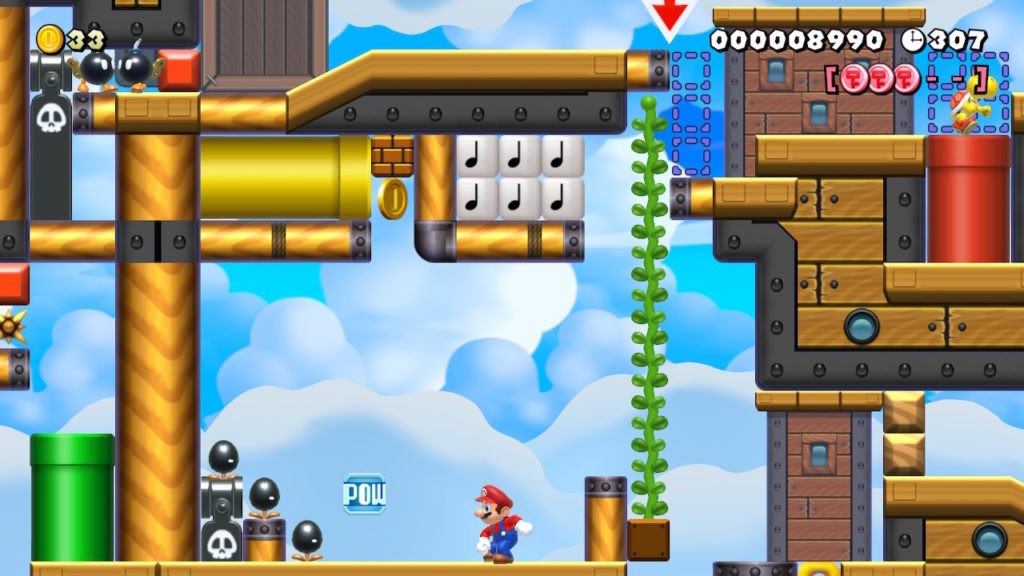
You’ll notice some Carole Radziwells in the corner. Yell “QUIET RADZIWILL!” and finally toss the POW block.
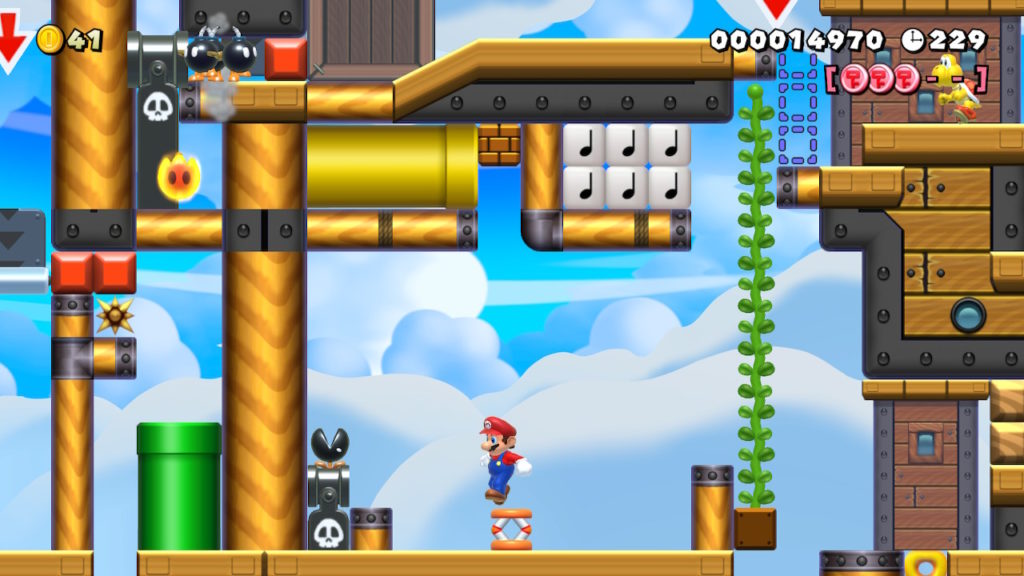
The Caroles will go off to run the marathon, allowing the Bill Blaster to shoot a spring at you. Grab the spring, and position it under the yellow pipe entrance (you can calmly place the spring LIKE ELEGANT PEOPLE DO by pressing down while you throw it).

Use the spring to jump and break the bricks. If you are small, you’ll need to find a mushroom (they are literally everywhere and you should know where the spawning spots are by now). Once you break the bricks, the pipe will drop a shell onto your giant, pumpkin-sized head. Congrats: YOU HAVE A SHELLMET (it’s like the exact opposite of Herman Munster shoes). PS. if for some reason the vine hasn’t grown, you can grab the next shell that drops from the pipe and kick it at the far right wall. It will activate the vine block.

Now that you have a shellmet, you should head up the vine, northwest to the central intersection, and then northwest again to the mushroom-spawning pipe. Keep heading west beyond the mushrooms. You’ll find a door that leads back to the POW block room (if you’ve unlocked the short cut, this could be useful). No need to head into the door now. Instead, continue walking a few steps west until you encounter a moving platform. Hop on it and cross the gap, avoiding the Bethennys and springs at all costs. Remember that the shellmet protects your head against fireballs AND photos of Tom at the Regency with other women!

On the other side of the abyss you’ll find a Tinsley Thwomp losing her mind. If you’ve made it this far without a shellmet, you must turn back. You won’t be able to pass.
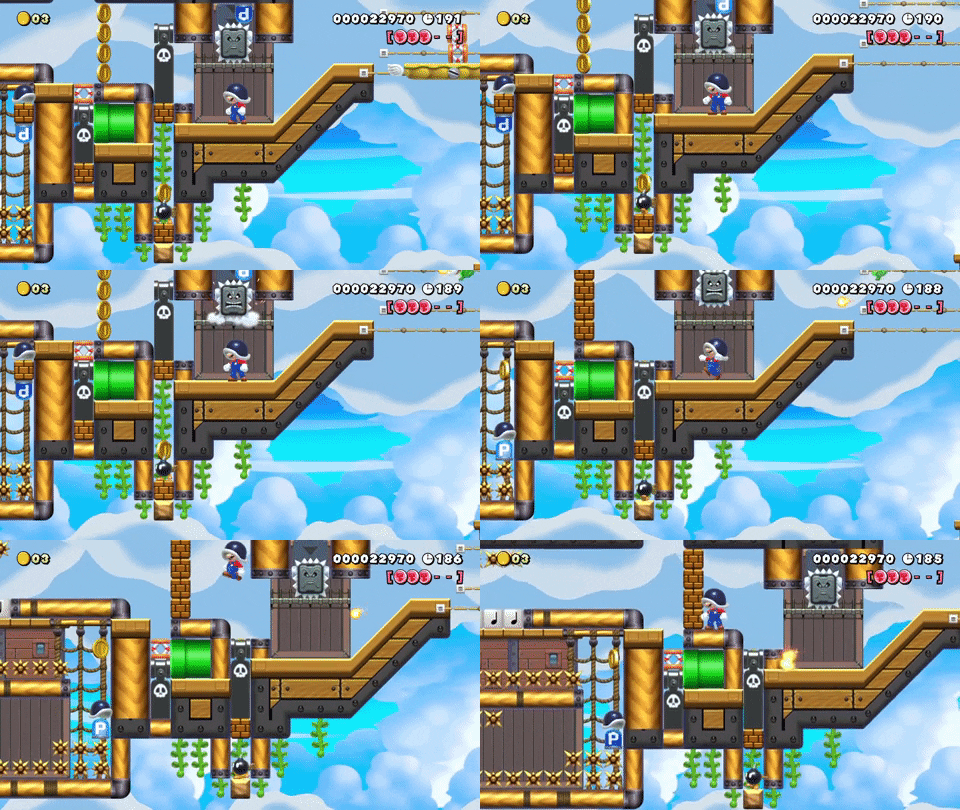
Luckily, the shellmet allows you to hit the Tinsley Thwomp from below, which activates the P-Switch. The Bill Blaster drops (be careful, it might sneak out a Bullet Bill as it drops), allowing you to eventually head west. Do enjoy the divine satisfaction of watching the Bill Blaster kill itself as the P-switch expires.

If you lose your shellmet, you can get a new one here.

Continue to head west. You’ll need the shellmet to cross through a tunnel of CABARET MUSIC without getting hurt.

You will reach a ledge. The arrow points down, so do as the arrow says and drop down (protip: always follow the arrows). A Bill Blaster will conveniently shoot a P-Switch at you.
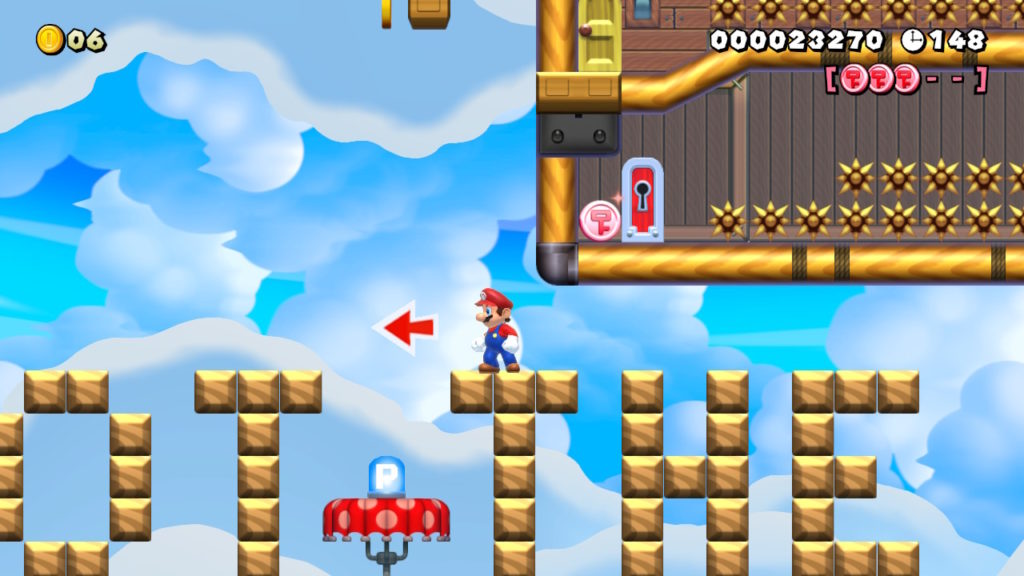
The P-Switch will land right between the “WE GOT THE YACHT” letters. Either grab it or stomp on it and then head to the left. (I recommend grabbing it)

Once the P-Switch is activated, two Bill Blasters will descend onto the W of “WE GOT THE YACHT”. (If you are still holding the P-Switch, now would be a good time to put it down and activate it) Do not fear the Bill Blasters. They shoot money (with which you cannot buy class).
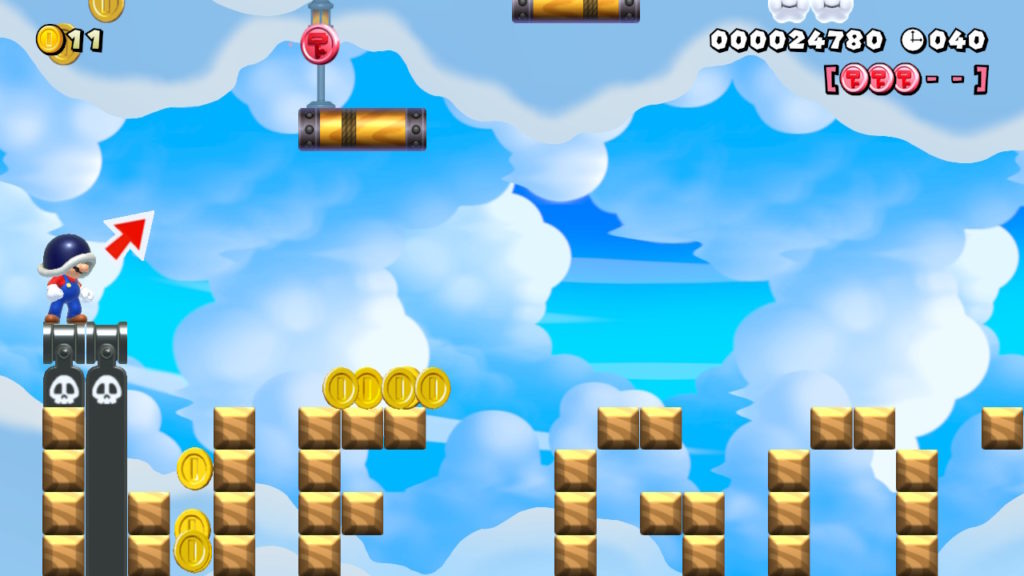
Hop on the Bill Blasters and jump your way up to the floating platform, again following the arrow. There you’ll find your fourth red coin.

Continue to the right, hopping to the next platform and then onto the Dry Bones shell that emerges from the red pipe. Chic c’est la shell!

If you botch the whole P-Switch thing, don’t worry. The question block at the end of “YACHT” sprouts a vine. Go hit it now. If it’s already been activated, go back onto the boat and enter the first door you see. Immediately return through the same door. This will reset the vine. Hit the question block and grow the vine!
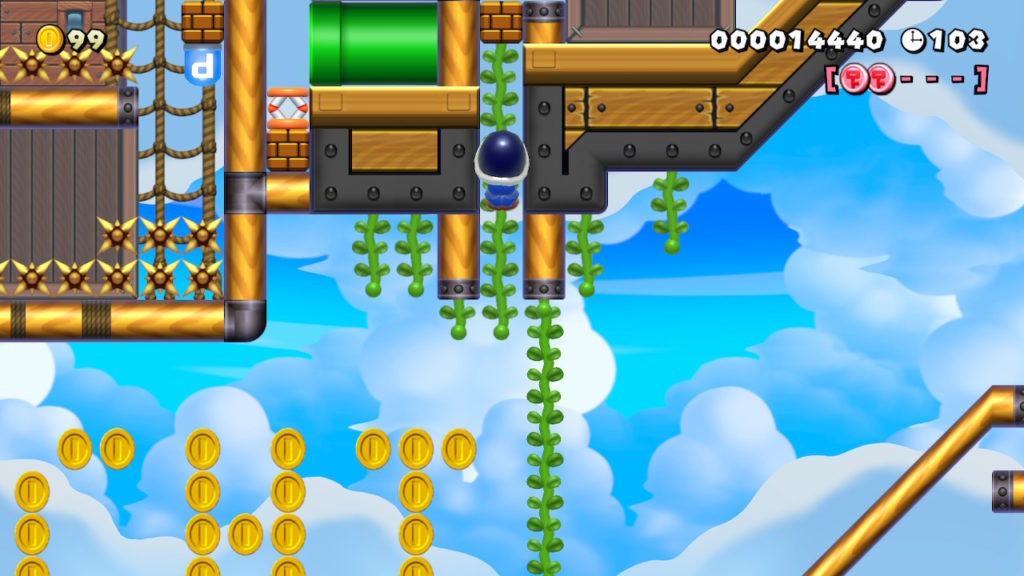
Climb the vine until you reach the other vines. Scoot over to the vine on the left and climb that too. When you reach the bricks, break them with your head, and voila, you’re back where the second Shellmet is! Go through the musical notes again and let the Bill Blaster shoot a P-Switch at you anew. This will only work if you have previously used your shellmet to hit the Tinsley Thwomp.

Once you’ve slipped into the Dry Bones shell, descend down to the floor and head to the right. You’ve been here before: you’re back on the dock! Hop onto the boat and go into the very first door you see.

You’re in a hellish room of spikes. Luckily your Dry Bones shell protects you. Hop along the spikes to the right. If you’ve lost your shellmet along the way, hit the P-Switch to make a new shellmet drop on your head. Now hop to the left through the second set of spikes. You’ll find your fifth and final red coin by the door. You will receive a key that you can use to unlock the door.

Once you go through the door, you’ll find yourself on the back end of the ship. Do yourself a favor and hit that checkmark flag so you don’t have to do this all over if you die.
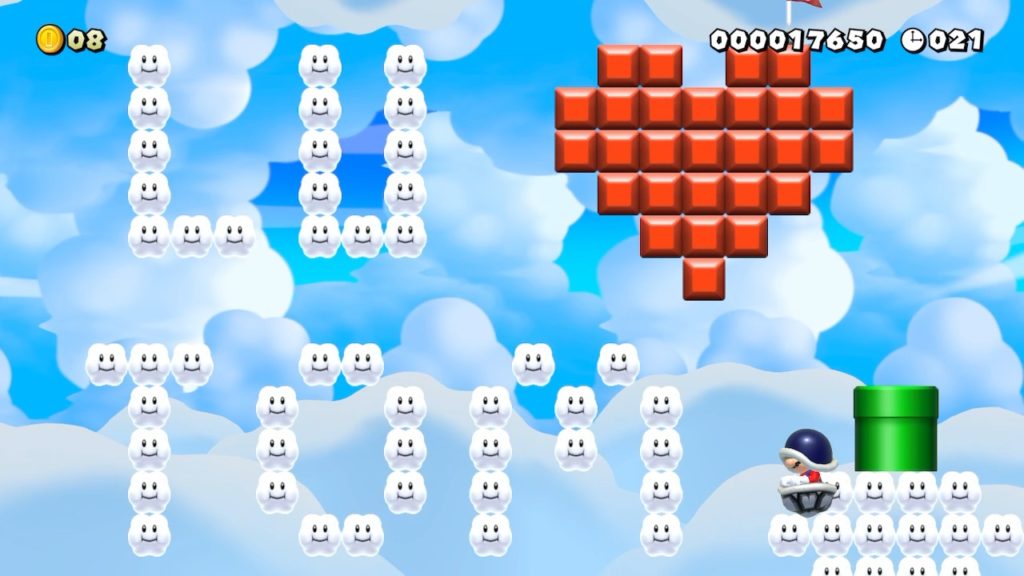
As you head down below the checkpoint, you’ll find a very romantic message — a reminder that despite everyone’s best efforts to undermine her, Lu’s love for Tom continues to go strong. Go in the pipe.

The sunny optimism of the yacht is replaced with dreary darkness as you emerge into a living nightmare. Don’t dawdle. Hop into the Swinging Claw before you miss it and let it take you on a ride through LuAnn’s downfall.
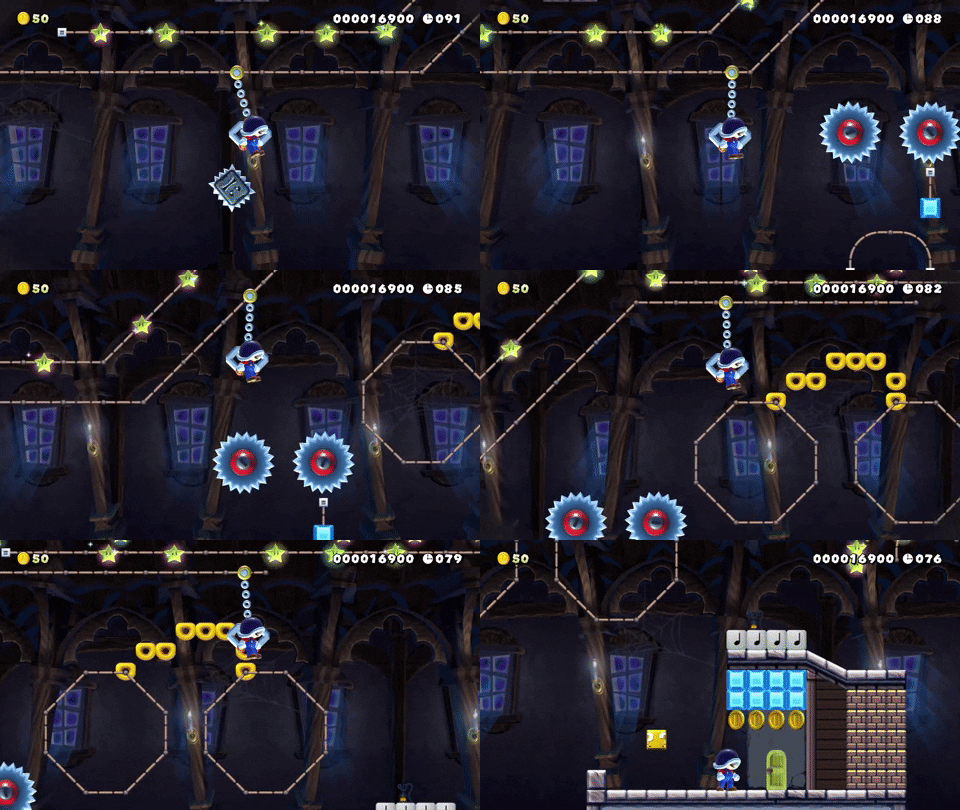
You will be dropped at the doorway of a theater. Be sure to grab a mushroom from the nearby question block if you need it. Enter the door.

Inside the theater, you stand at center stage! But you have one last hurdle: you must defeat the final boss, THE DORINDA SUN.

Make your way up to the Bill Blasters shooting stars, avoiding the Spinys, the springs, and of course Dorinda’s swooping attack. Once you’re invincible, hurl yourself at Dorinda She will cough up a key once defeated. Use it to enter the locked door.
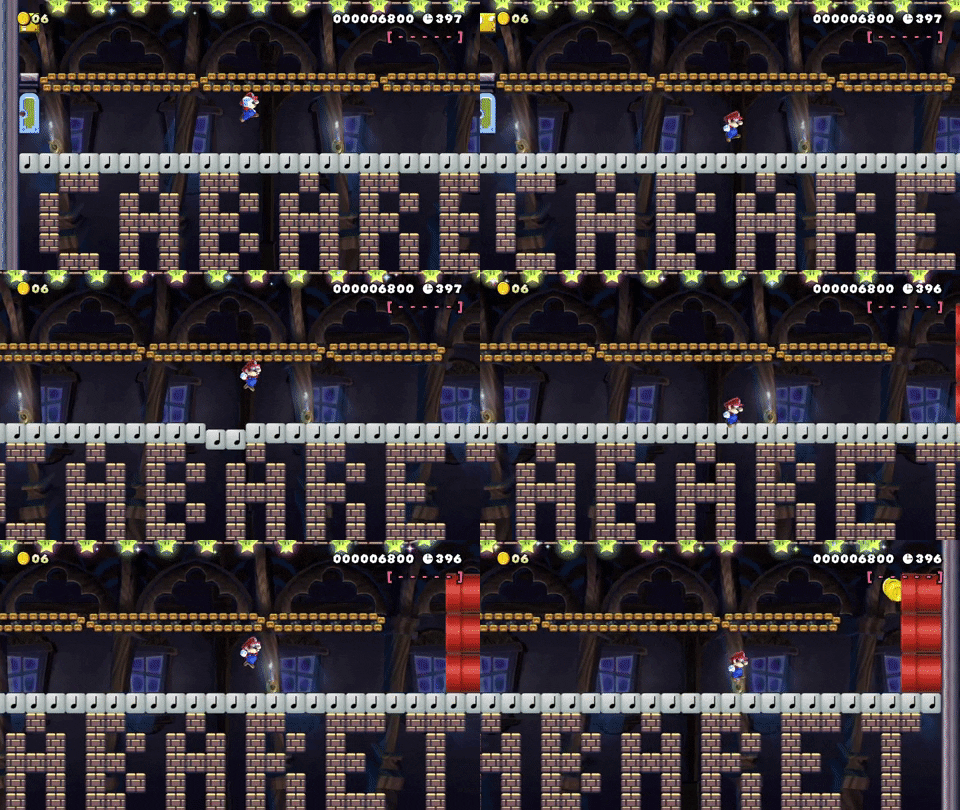
You have silenced the haters and can now bask in the glory of cabaret!! Head to the right, pick up some goodies, jump on the conveyor belt, and head back to the left. The question block will sprout a vine. Climb it.
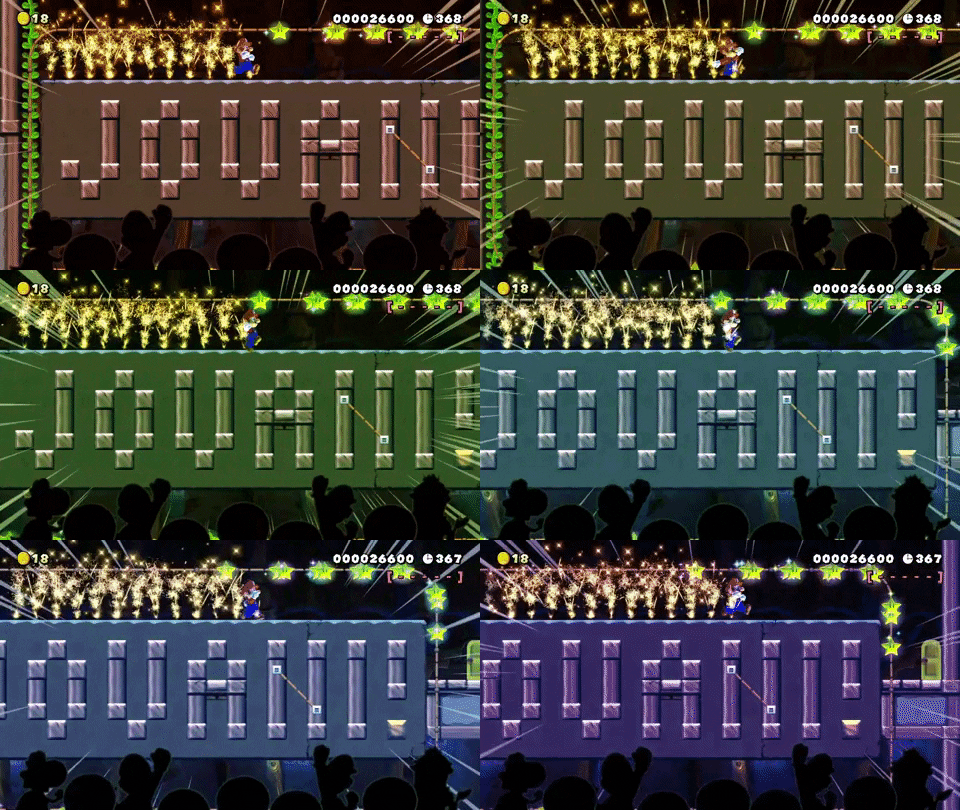
JOVANI! Run across the Jovani sign and soak in all the adoration from your fans! Enter the door.
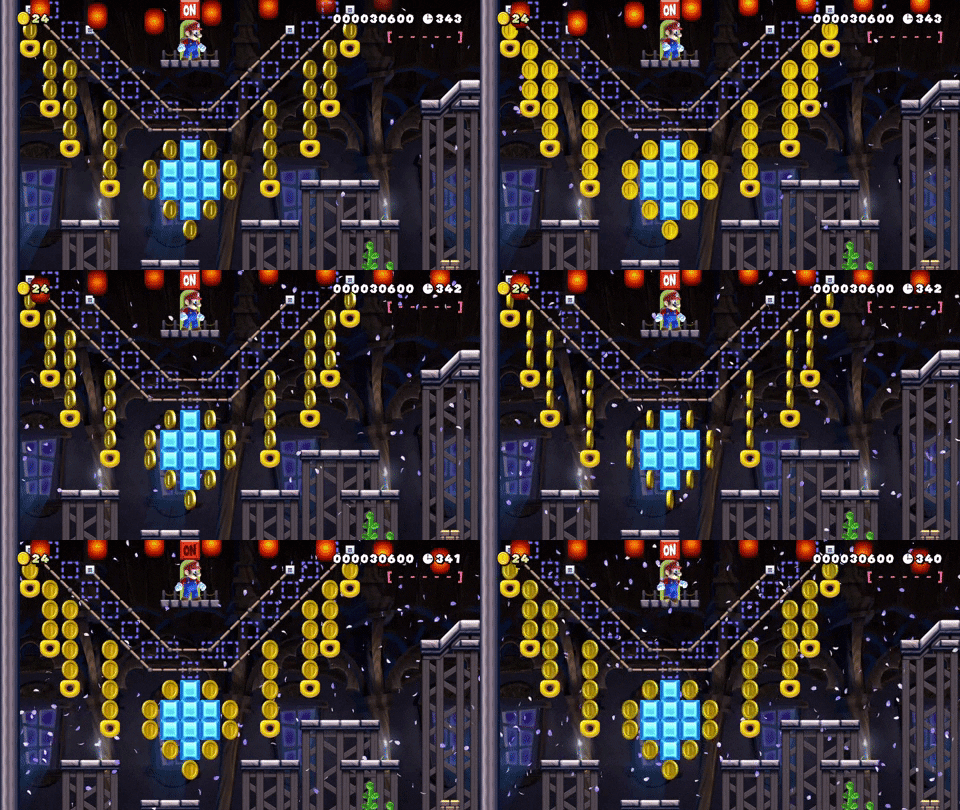
You will emerge above a Countess Collection Statement Necklace. Bask in its beauty as it floats above the NYC skyline. Drop down from the necklace, being careful not to break girl code.

As you drop down through the city buildings, you gaze upon the mightiest prize of all: an apple. Congratulations! You have secured your spot on the next season of RHONY. GO GRAB YOUR PRIZE!
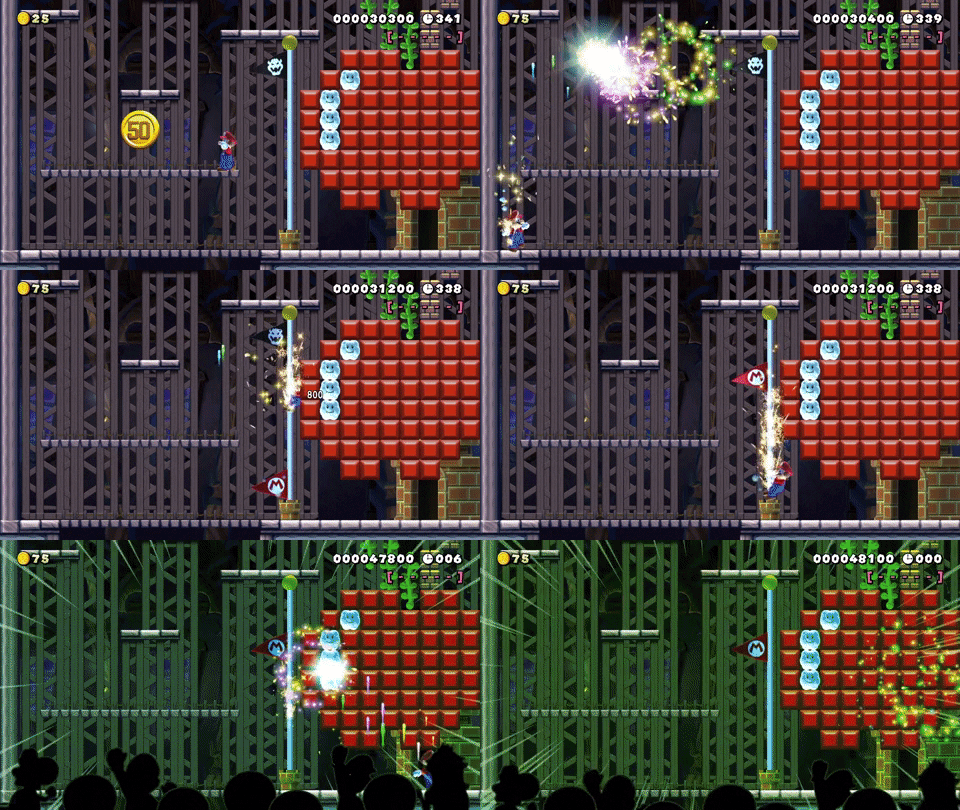
If you want to play this course, be sure to use the code 2XR-HGp-61G
This makes me so happy for two reasons:
1) Countess Luann Mario Maker Mashup = Amazing
2) Bside Blog is back = YAY!
You’re back!!! More recipe blogs?????