It was all cold and rainy in LA on Monday, and for whatever reason, this spurred on an insatiable craving for chocolate cake — one that I could not quell, no matter how hard I tried. Making matters worse was that Mark Bittman had just written a piece about chocolate layer cake, and if that wasn’t bad enough, I had just recently seen an episode of Ask Aida wherein Aida Mollenkamp baked a chocolate cake with a frosting made out of PUDDING. Add to that a scene in It’s Complicated featuring Meryl Streep and an amazing slice of chocolate cake, and I decided enough was enough. I was going to make a chocolate cake, dammit, and when I paused to reconsider, I realized that despite a lovely trip to Disneyland and a rowdy time with my friends over the weekend, I had never gotten around to having any actual birthday cake. WELL THEN. What better reason to attempt my very first layer cake? And so the plan was put into motion. I would be making cake.
The results after the jump…
I must admit that I was most intrigued by Aida’s pudding frosting concept, and honestly, it was kind of what got the ball rolling on this whole cake thing. However, I wasn’t sure about her cake rounds. The two reviews on foodnetwork.com were not glowing. Then again, the reviewers could have been morons — and based on their prose, I’d say it was very likely. Either way, I decided to play it safe and use Mark Bittman’s cake recipe and pair it with Aida’s pudding frosting. Sounded simple enough. And in general, it was.
All did not go smoothly though.
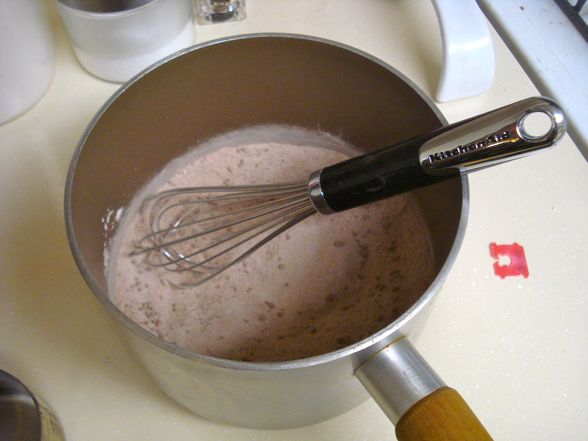
I began with the pudding frosting as I knew that would need a head start to cool down and get all pudding-y. As such, I whisked together a mixture of cocoa powder, sugar, and corn starch. The recipe also called for instant espresso powder, but I had none. Alas – Ina Garten would have been horrified by my inability to make the chocolate taste more like chocolate.
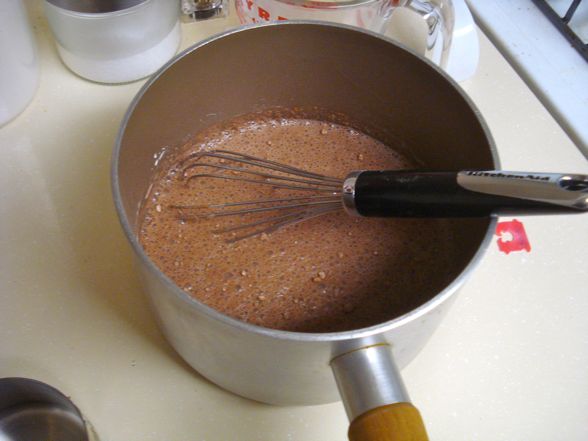
Some milk, vanilla, and egg yolks soon find their way into the mixture. Vigorous whisking ensues.
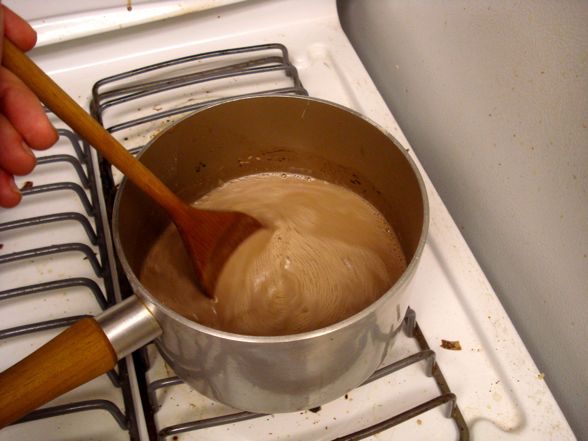
On the stovetop, I continue the stirring action on a medium-low flame. Exciting things are sure to come.
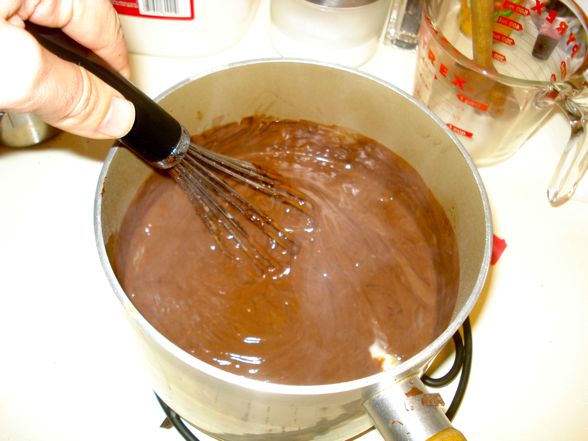
Ten minutes later, the mixture thickens rapidly. I take it off the heat and whisk in semisweet chocolate and butter.
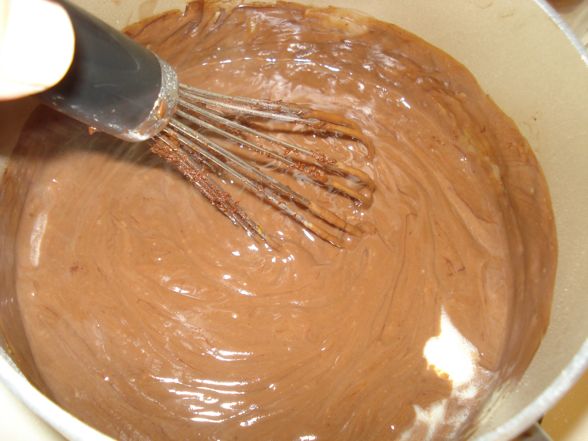
I also add a touch of Kalhua in the absence of espresso powder.
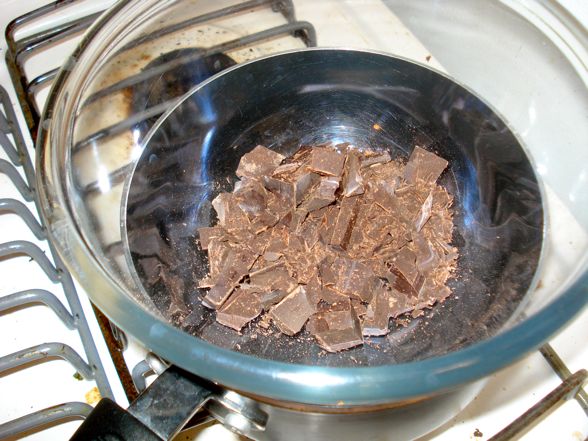
The pudding then goes into the fridge, and I then move onto Phase II: the cake. Here’s three ounces of unsweetened chocolate melting away, as per Mr. Bittman’s instructions.
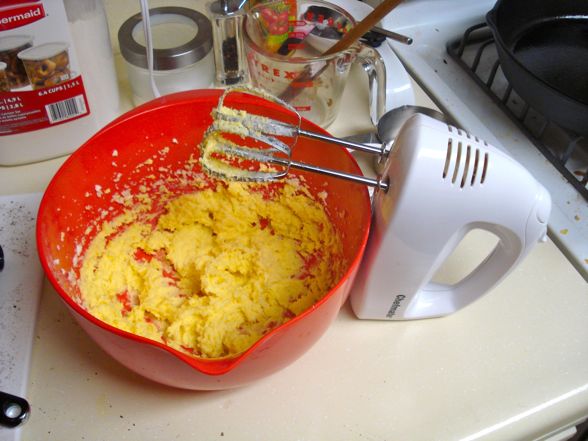
Elsewhere, I cream some butter, sugar, and egg yolks. Note the festive colors.
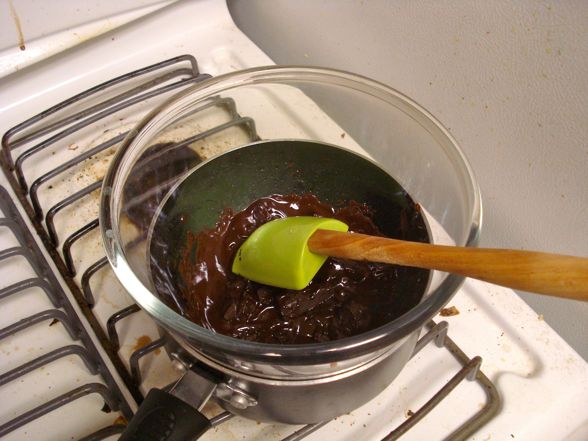
The chocolate appears to be nearly melted. It may look luxurious, but remember that it’s unsweetened and thus tastes like ass.
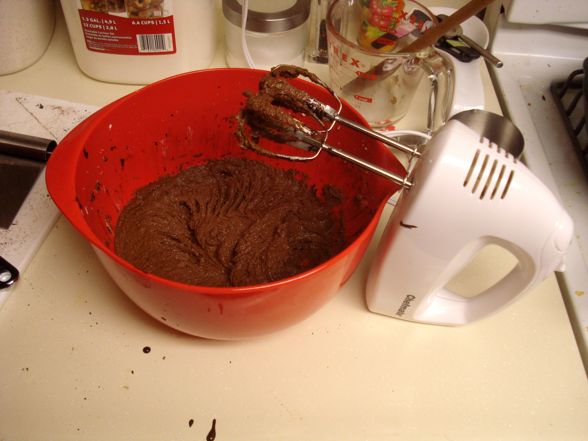
Soon the chocolate is added to the creamed butter mixture. I’m quite pleased at the relatively smooth process so far.
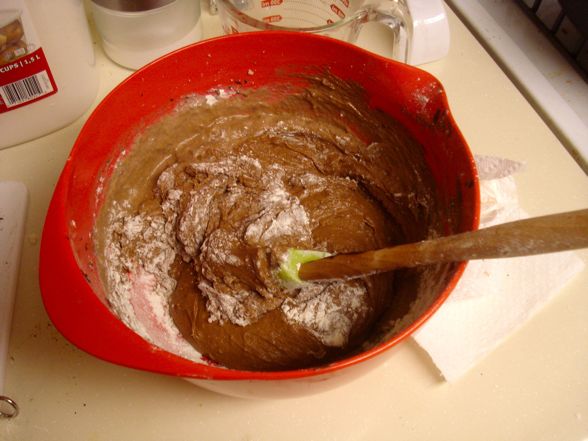
I then must perform a veritable dance of incorporation as I stir a flour / baking powder / baking soda / salt mixture into the butter, alternating with milk all along the way. It’s annoying, but I persevere.
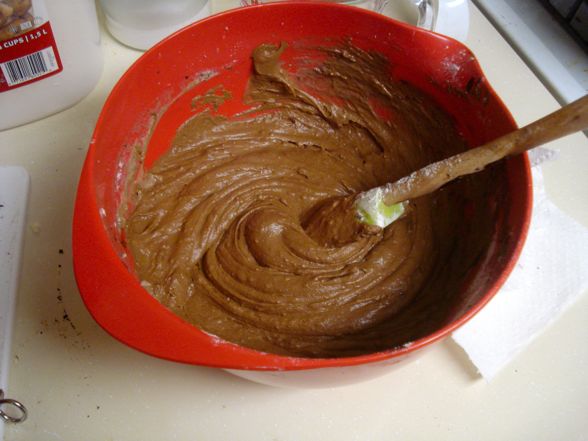
Behold the batter. But wait! There’s more!
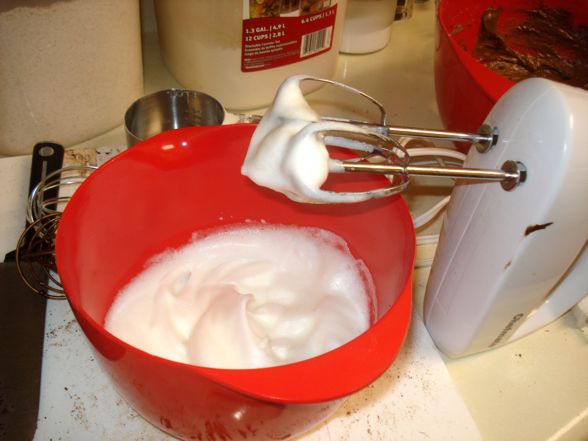
Check out the beaten egg whites! My first time doing this, and as you can see, I achieved soft peaks quite successfully.
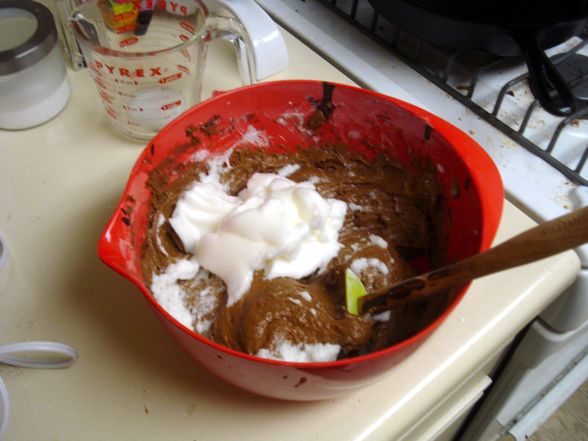
Here I am folding the egg whites into the batter using — as Ina would say — classic French technique.
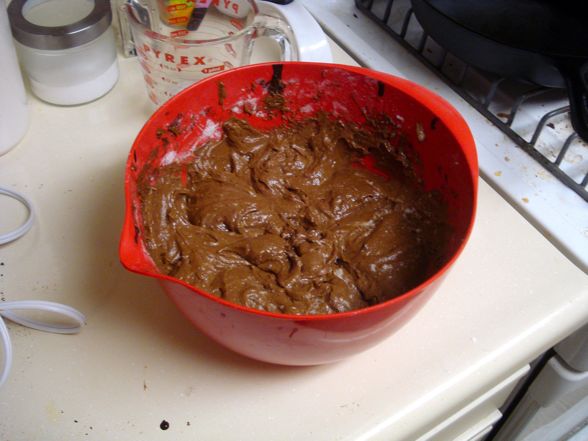
Now the batter is ready (and yes, there’s a good chance I may have deflated the egg whites with some aggressive folding).
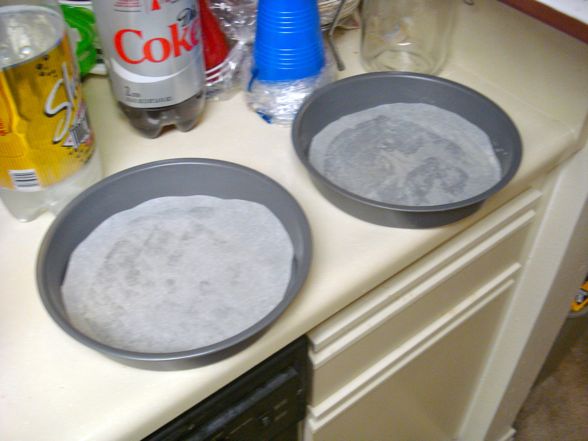
The action pauses for a moment while I fit two cake pans with rounds of parchment paper. Nothing like an arts & crafts interlude to keep things interesting.
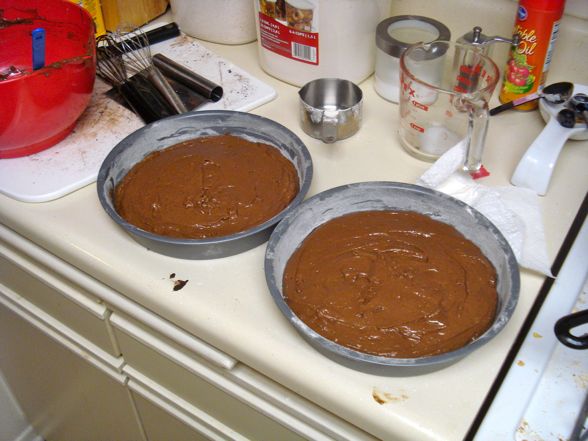
I then divide the batter amongst the two buttered and floured pans. The lack of disasters up to this point is very encouraging.
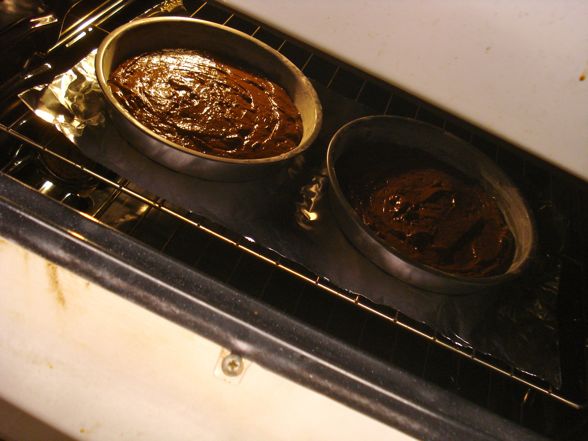
Into the oven the pans go. Now I must nervously await the results.
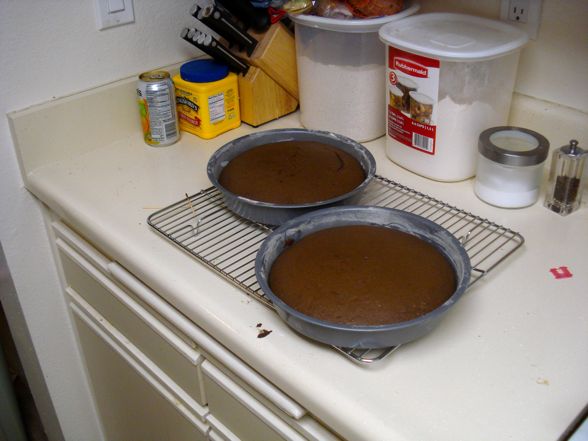
Thirty minutes later the cakes come out and look fairly perfect.
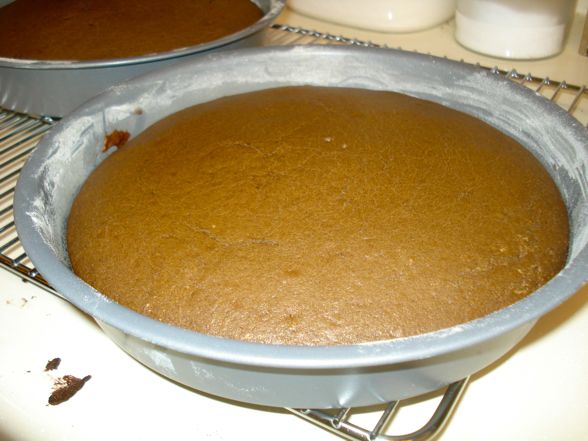
But will it come out of the pan?
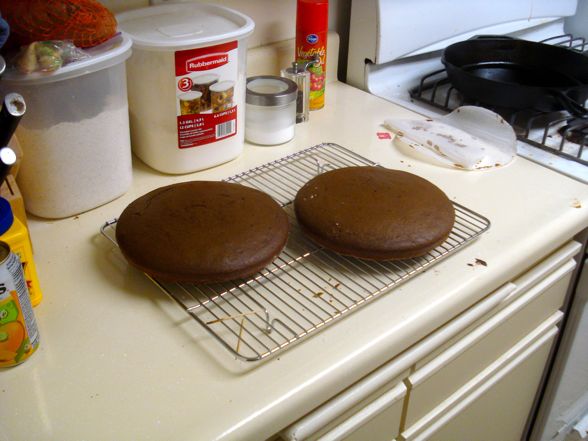
Success!
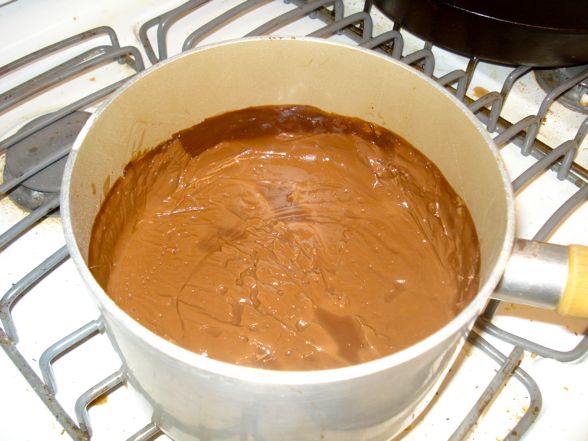
Once the cakes cool down, I retrieve the pudding from the fridge. Time for assembly.
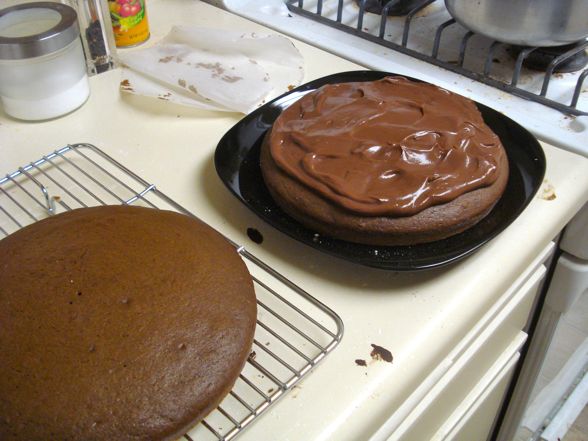
And now it goes downhill. First of all, I should have chopped the round part of the bottom cake off so that the upper cake would rest evenly atop it. I did not do this though as I thought it would be a waste of cake. Big mistake. Also a mistake was not putting enough pudding on top of that first layer. I definitely could have added more, but I feared I wouldn’t have enough for the rest of the cake. This was an error in judgment…
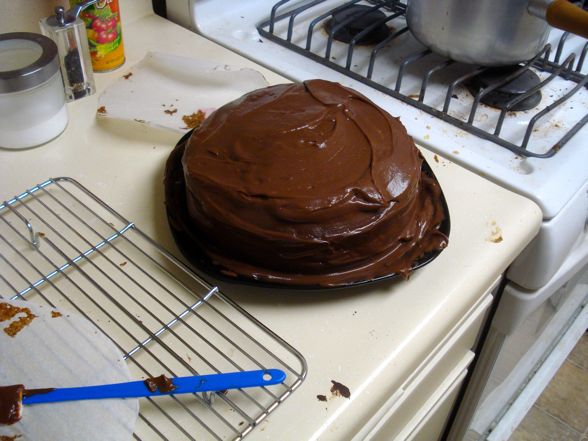
As you can see, there was plenty of frosting to go around. This picture doesn’t even take into account all the leftover pudding still in the saucepan. Dammit! That could have gone in the middle layer!
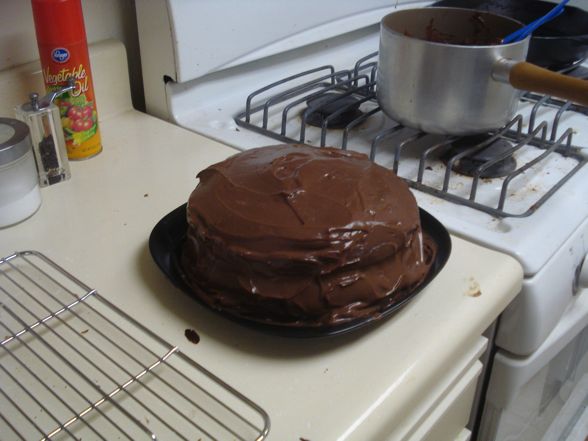
Because the lower layer was rounded on top, it created this indent around the sides of the cake. Not very appealing. Plus, let’s not overlook my “rustic” frosting skills.
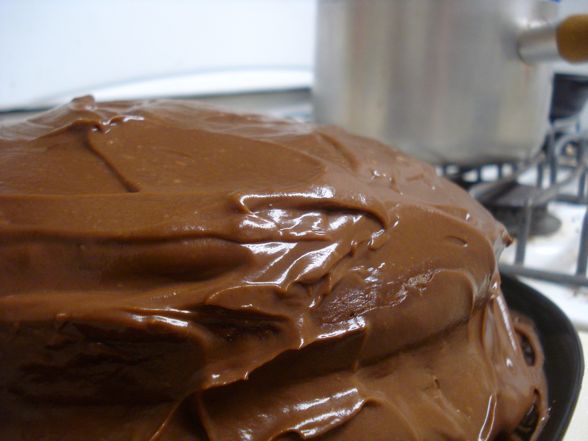
Not a particularly “clean” cake.
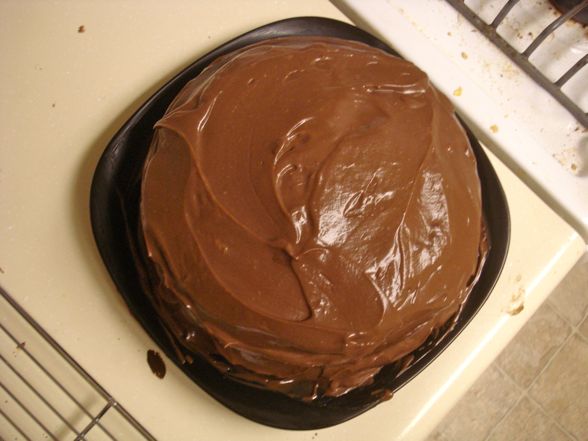
At least it looks somewhat normal from the top.
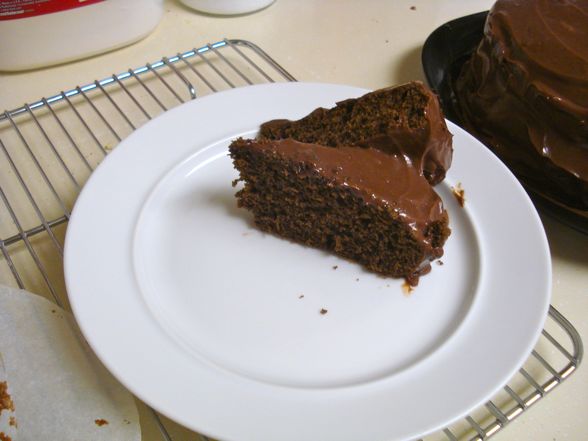
Well, because I didn’t shave off the top of the lower layer, the upper layer rested upon it very precariously. As such, when a slice was cut, it immediately teetered with instability before toppling over with a light thud. Slice FAIL.
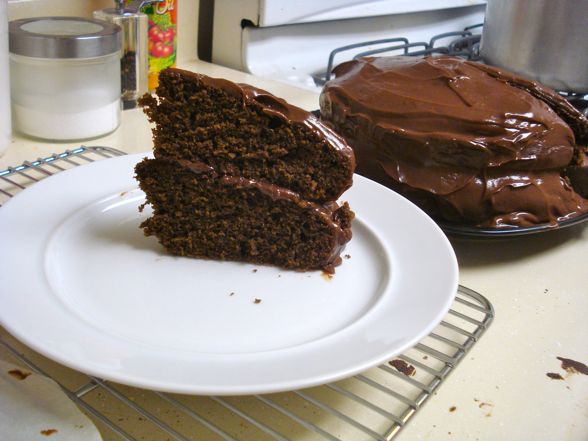
Eventually I got the layers to play ball — at least long enough to take this picture. As you can see though, there is certainly NOT enough frosting in the middle, and ultimately, this doesn’t look like one cohesive piece but instead two separate slices stacked on top each other — sort of like they’re humping. Sorry. My mind always goes there.
Architectural issues be damned, the cake turned out quite nicely. Next time I’ll surely tweak my assemblage for better consumption, but that’s a merely cosmetic issue. Also, I was sure to save the leftover pudding — a dollop of which can now be added to any slice to compensate for the thin middle layer of frosting. And let’s talk about that pudding. It was mighty mighty tasty, my friends. Kind of the star of the cake. Of course, since the frosting was pudding, it was a bit runny, but that’s okay. It all worked. Aida’s recipe actually called for crushed chocolate wafers to be pressed into the frosting, but Fresh & Easy carried no such cookie. Not a major loss, I imagine.
The cake meanwhile was quite nice. Not amazing, but perfectly suitable. I think if I were to make it again, I might use two ounces unsweetened chocolate and one ounce semi-sweet. Unfortunately, because of the pudding frosting, I felt it necessary to refrigerate the cake, and that caused it to dry out a touch, but not to a detrimental effect (especially with all that extra pudding around). What the cake lost in moisture, however, it made up for in stability as the time it spent in the fridge helped set up the pudding just a bit more, making the entire endeavor that much more cohesive as a whole.
Overall, I was quite happy with the results, and my craving was most certainly satiated. At least for the time being. I must admit that after writing about this for the past forty minutes, I’m salivating all over again. Must… eat… cake….
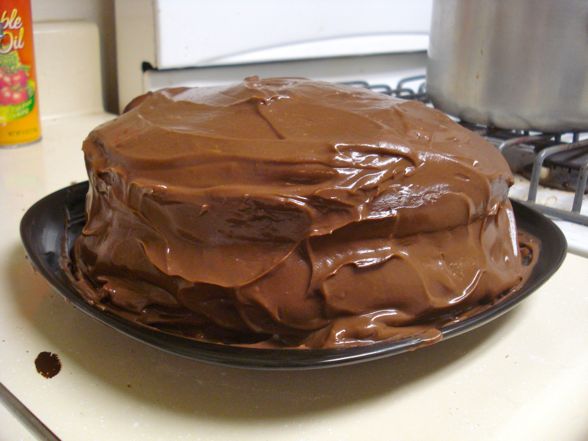
Ahh, that cake looks good. I think it is awesome how you are venturing into the world of fine cooking. However, and I can’t believe nobody mentioned it yet — Dude – ya gotta clean the stove!
🙂
B-I always flip the cakes over when they cool so the round side is on the bottom. It flattens it out a bit. Then when I assemble I put the bottom of the cake on top since it’s nice and flat. It makes the cakes fit together a little better.
The key to a really nice shapped cake is a lot of frosting. Just keep putting it on until you can’t see any holes or bumps and smooth it with a frosting spatula.
I think you did a good job though. I’m sure it tasted awesome. I tried Ina’s chocolate cake receipe titled Beatty’s chocolate cake. It was so good. However, it REALLY tasted like coffee with all the coffee that was in the batter and the frosting. I like coffee so it wasn’t a problem for me, but if you don’t then I would use way less then what the receipe called for. Plus it was a little tricky in the rising of the cakes. Make sure if you make it you are very precise on the ingredients as it may flop in the middle.
I’ve always had great results with the recipe on the Hershey’s cocoa can. That makes an awesome chocolate cake. I made one for a friend in college and he was very impressed. I wouldn’t have thrown out your cake though. Even though it looked somewhat lopsided, it still looked yummy. To me, that’s the most important part.
Email the humping cake photo to Bittman!
The cake looks delicious but pleasepleaseplease, for the love of all that is holy, CLEAN YOUR STOVETOP. I’m starting to become afraid of clicking on these food thingys for fear of seeing it. Maybe you can photocap it??
Kisses,
cruel.
hb
Your cake looks like a big turd. A big turd covered in pudding.
For the record, I cleaned my stove last night after similar bitching from IndianJones. It’s all purdy now.
B, it looks great! i want a slice !
ps – once the cake is a bit hardened in the fridge, you can fill in the indent with more frosting to make it look prettier.
Messy food is always the yummiest!
Thanks, B! (and IndianJones)
Sometimes I have a great witty comment to make and by the time I have to reenter the Captcha the fourth time, the comment is no longer funny.