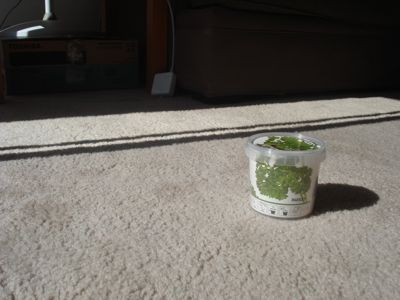
This past weekend, I headed to the nearby Ikea in search of various household items for my new apartment, and because I’m somewhat clueless when it comes to discount Swedish design, I employed the dutiful help of my friend Jash, who happens to be an expert at all things decor related. Well, as we wended our way through the facility, we eventually came upon a small display of do-it-yourself herb boxes, with each one containing a pellet of soil and seeds  perfect for home-grown vegetation. Jash announced that he was buying one and suggested that I get one too. It seemed like a good idea: I never have fresh herbs available, and whenever I do, half of them usually go bad before I can use them up. However, if I grew my own, I’d not only have them accessible (in ten to twelve weeks), but they’d last longer! Huzzah!
Well, I grabbed the parsley  petroselinum crispum, if you will  and so began the grand experiment: would I be able to successfully grow a bundle of herbs in my apartment? Or would I fail miserably like the horticulturally averse city dweller that I am? I guess we’ll all find out because I plan to document the growth (or lack thereof) of my parsley over the next ten to twelve weeks, which is the amount of time Ikea suggests before the parsley is ready for harvesting. Hopefully, great things will come out of this herb adventure.
After the jump, check out the exciting planting process that will lay the foundation for the rest of this series.
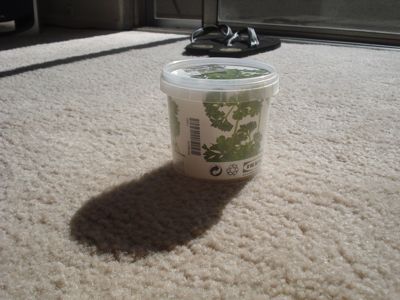
A dramatic view of the parsley container amidst afternoon sunshine and my trendy Matt Bernson sandals.
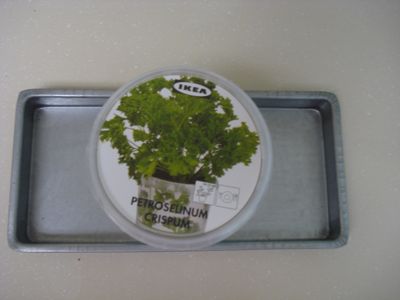
Time to get all up in this parsley’s bidness.
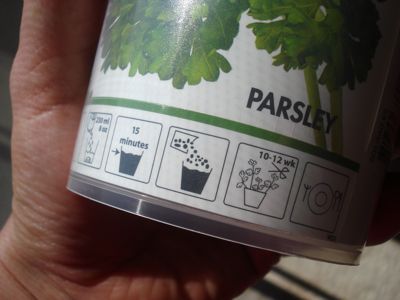
As you can see, the directions are in simple-to-follow pictogram format. Or as they say in Swedish, fjødäümjørdørjph.
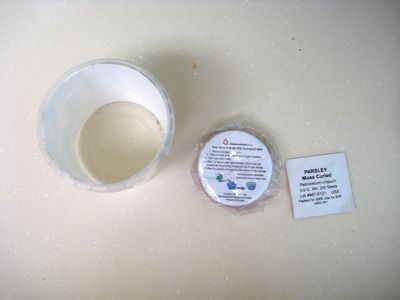
All the contents are ready: a makeshift pot, a soil pellet, and some seeds.
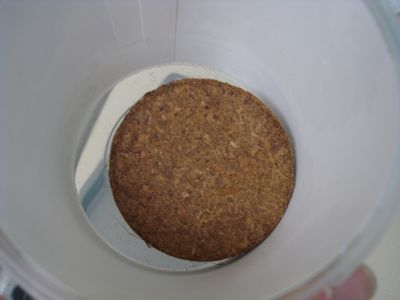
The soil pellet goes in first. It kind of looks like a veggie burger patty.
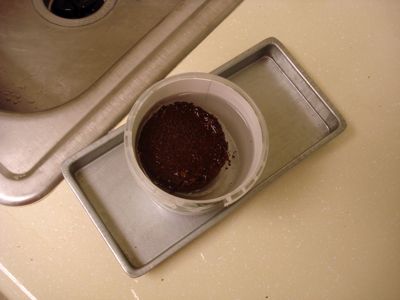
Per the instructions, I add a cup of water to the pellet, thus making it appear less like a veggie burger and more like a turd.
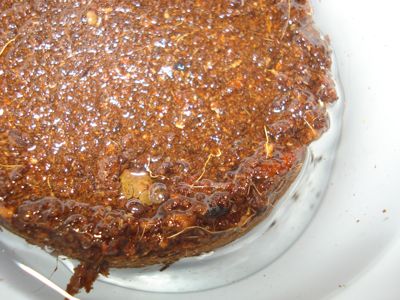
Now I have to let this sit for fifteen minutes and rehydrate.
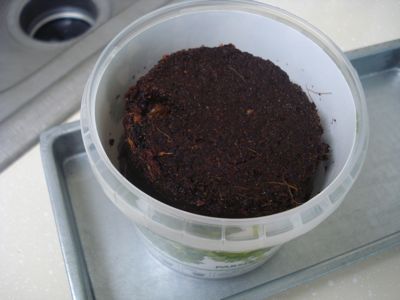
Fifteen minutes later and voila! The pellet has expanded gracefully into what looks to be a small loaf.
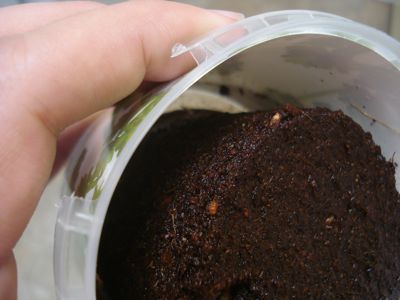
It actually resembles an unfrosted cupcake now.
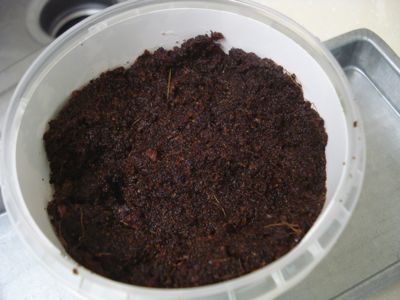
In an effort to create a more traditional flowerpot experience, I smush the soil around a little to fill out the entire cavity.
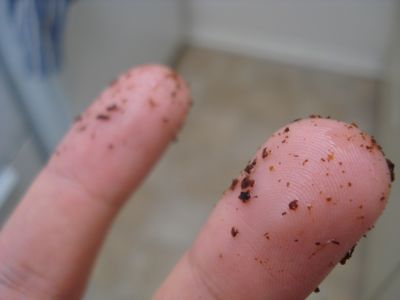
Unfortunately, this leaves my fingers a bit dirty. The sacrifices I make for convenient herbs…
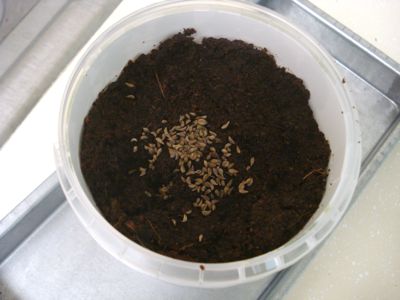
And there go the seeds.
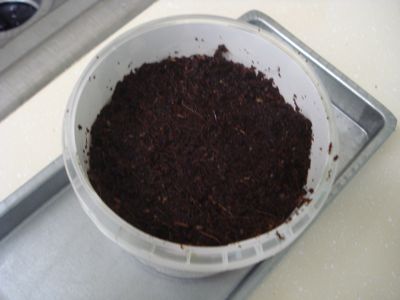
Ikea suggests that I just leave the seeds on top of the soil, but my nascent farmer instincts tell me to burry them a little. And that’s what I do. Hopefully my improvisation will not derail the progress of this parsley.
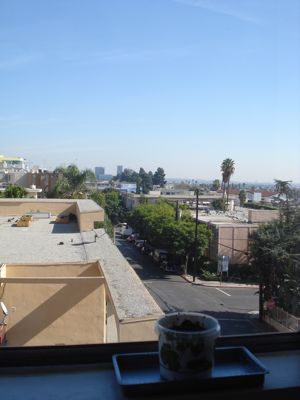
Lastly, I find a window sill that this parsley can call home for the next three months. This one faces east, and while it’s a bit shady right now, during the morning, it should be quite suitable for photosynthesis and whatnot.
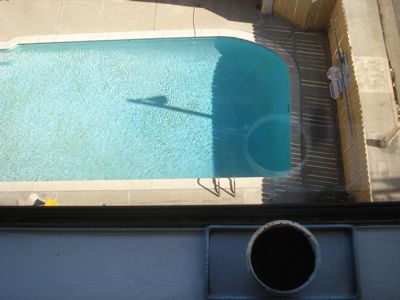
Plus, it’s got an awesome view of the pool next door.
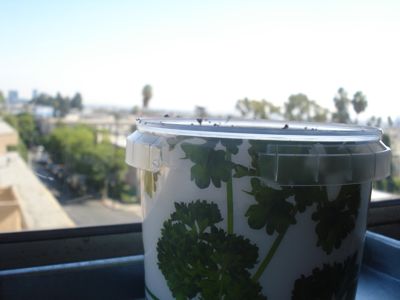
And so the adventure begins. I’ll be sure to have updates every week or so; so check back in if you’re so inclined…


